
How to Upcycle Wrapping Paper into Boho Paper Bead Necklaces
/
*This post contains affiliate links. This means that if you click through and give the product a whirl, I get a tiny fee for spreading the news at no extra cost to you.
When we last left off, I was sitting in a mountain of used Christmas gift wrap wearing a paper crown, determined to upcycle every last bit of our discarded wrapping paper. Though I went to great lengths to give my family gifts that were sustainably wrapped, some of them are a little behind me on my road to a zero waste lifestyle so I still found a small mountain of wrapping paper and gift bags making its way into my life on Christmas morning.
As you may already know at this point, most wrapping paper is not recyclable due to the following reasons:
the tape
glitter and metallic additives
low fiber quality
But before we all get bogged down with that “uuuugh” guilt factor that too often can come with the environmental movement, let me remind you:
Discarded wrapping paper makes an awesome crafting material. Even with the tape, tears, and wrinkles.
First I made gift wrap paper crowns for New Years Eve and then a festive reclaimed wrapping paper banner, but that only made a small dent in my mountain o’ post-consumer gift wrap.
Fortunately, I hit on an idea. Why not wear it? And so, today I’m going to show you how to upcycle wrapping paper into paper bead necklaces!
Love the look but probably never going to DIY it? It’s cool, I have made/am still making a few extra and you’ll find them on my new baby Etsy overflow shop for DIYs and upcycles! Let’s get started.


How to Upcycle Wrapping Paper into Boho Paper Bead Necklaces
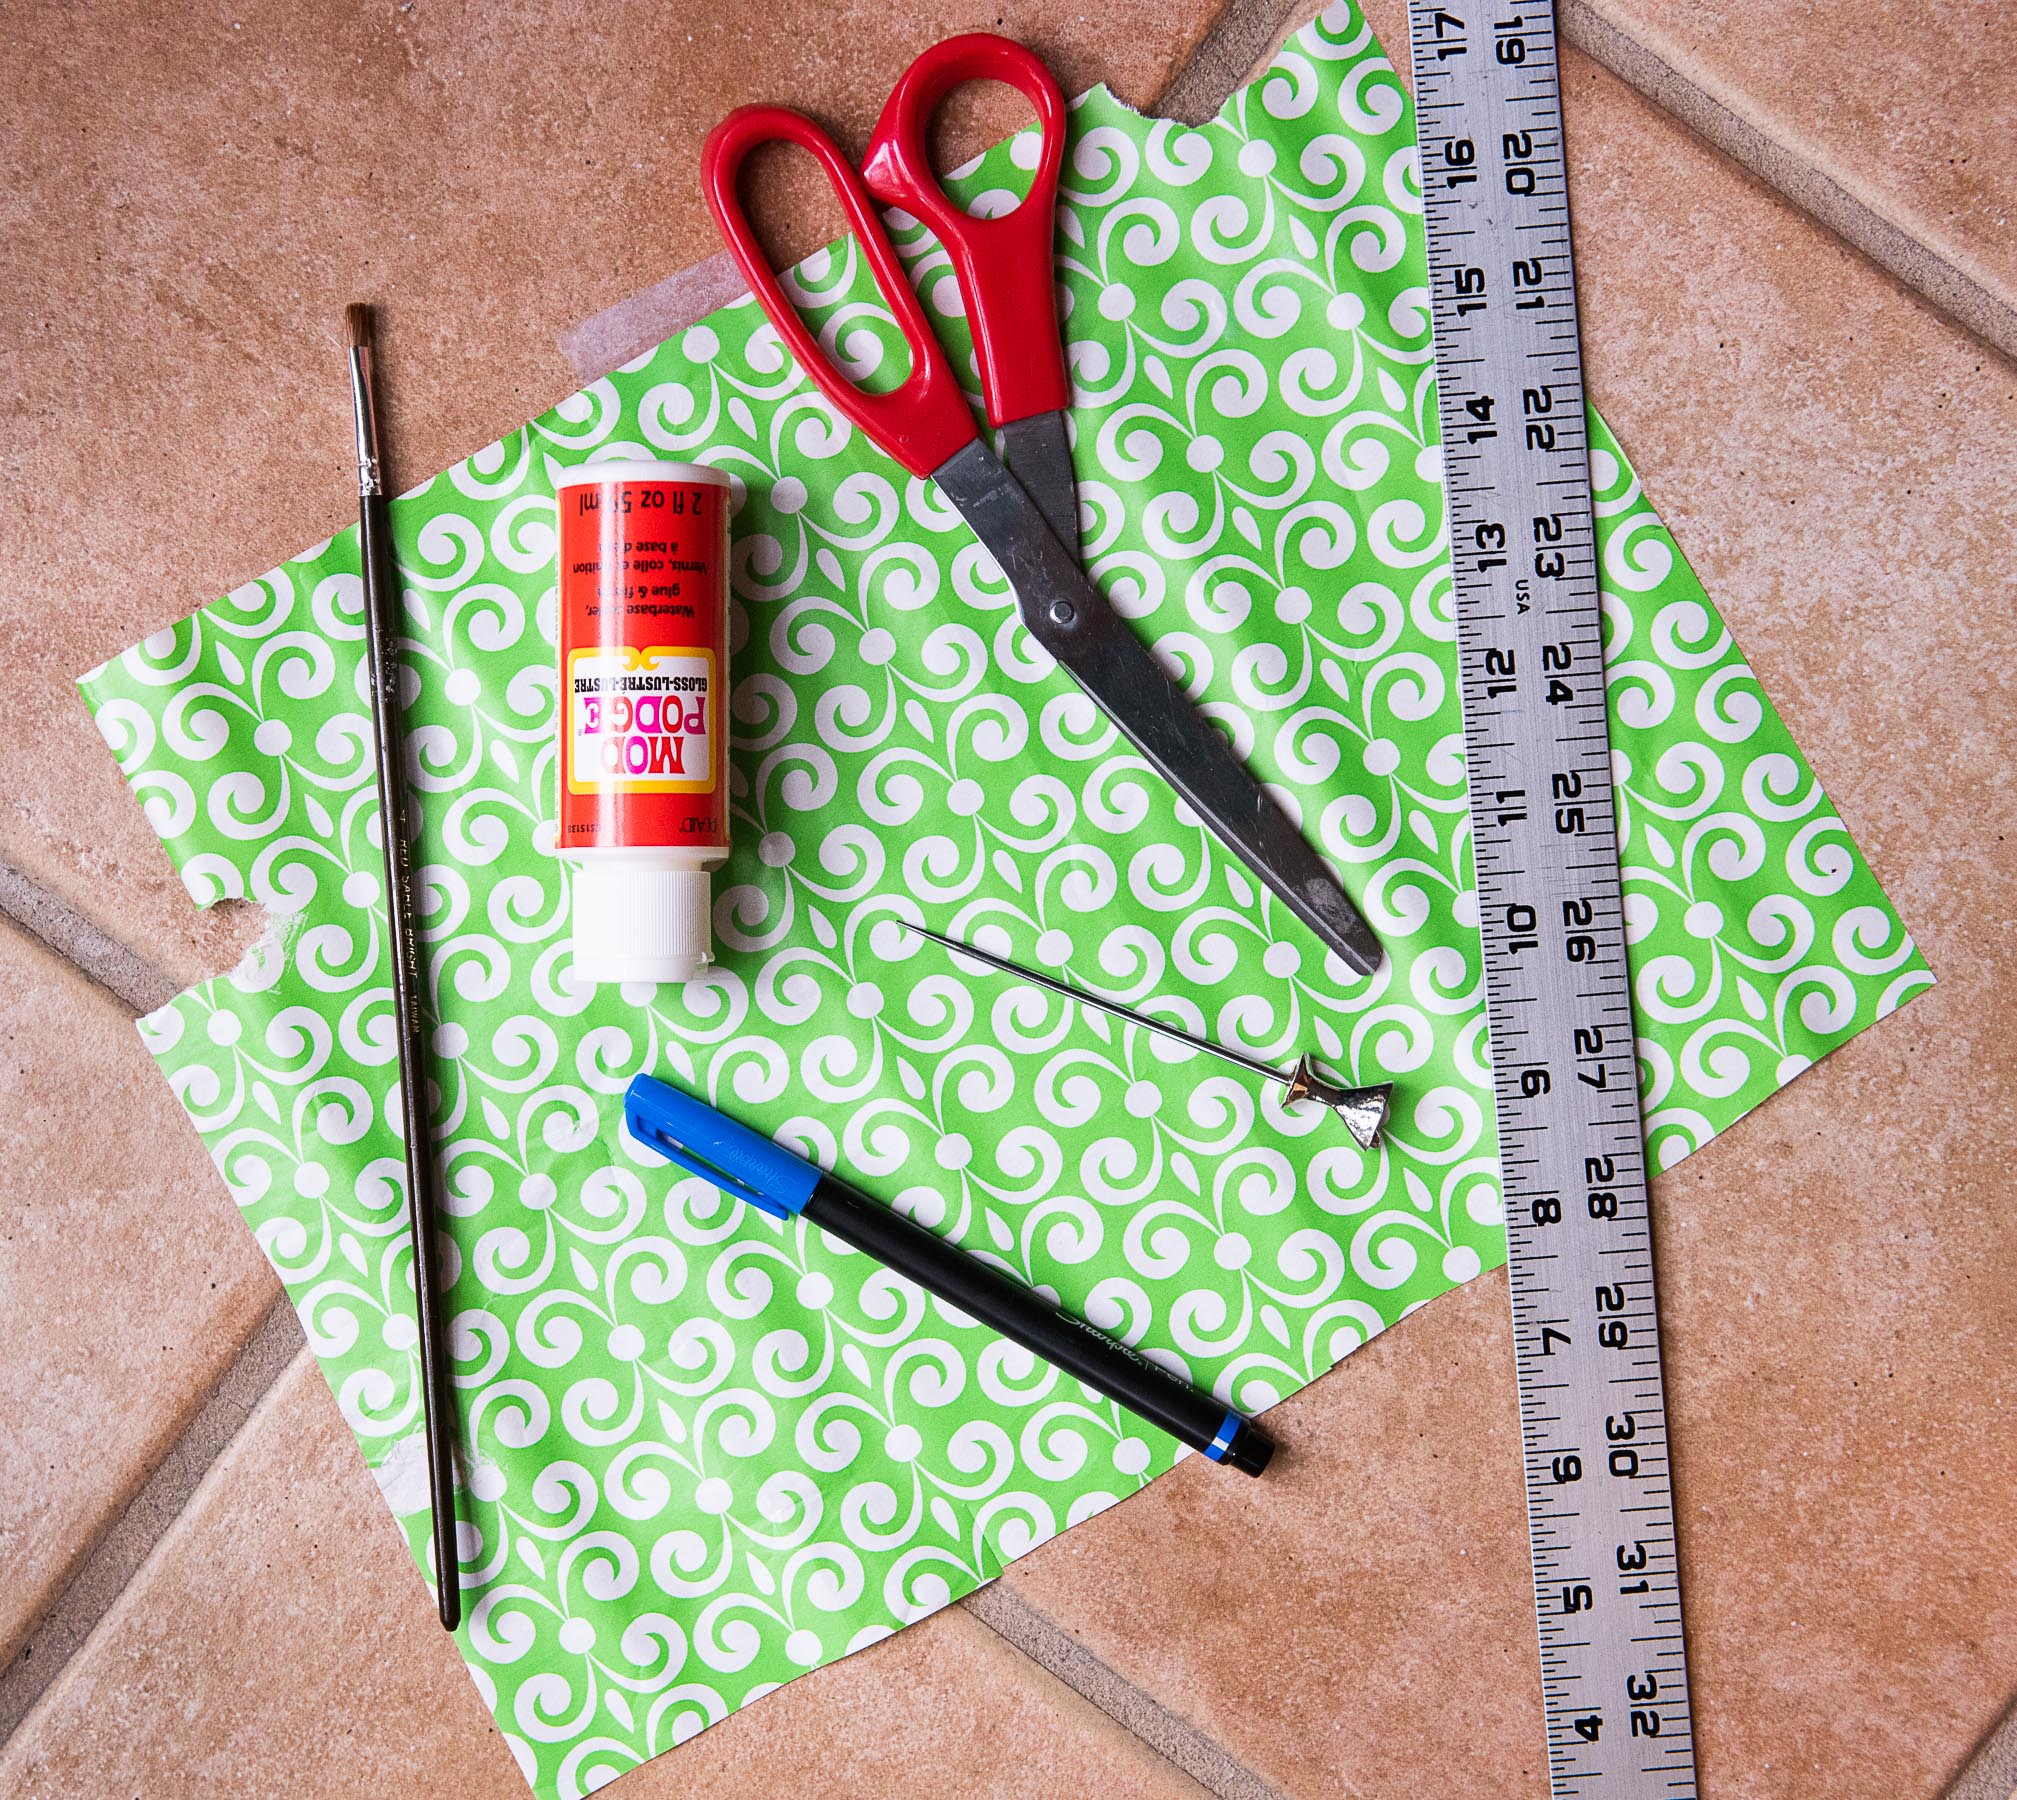
Supplies for Making Upcycle Wrapping Paper Beads
Several sheets of used wrapping paper or gift wrap
Sharp scissors
Ruler and fine Sharpie pen
Mod podge or other tacky glue
Polyurethane varnish for glazing
Toothpicks or thin metal rod to roll beads on (I used reusable metal toothpicks)
Several 5 inch clippings of floral wire
Loaf pan or glasses to suspend beads
Jewelry making tools, jewelry wire or cord, clasps, spacer beads as desired


Directions for Recycled Paper Beads
Flatten your pieces of wrapping paper and panels from gift bags and trim edges to form a large square or rectangle. You can try gently ironing your paper on a low temperature, if needed.
Decide on your bead length. For simplicity’s sake, we’re going to use 1 inch as an example. Keep in mind that larger beads are easier to roll but they have a more oblong shape to them versus a shorter bead on the same piece of paper.
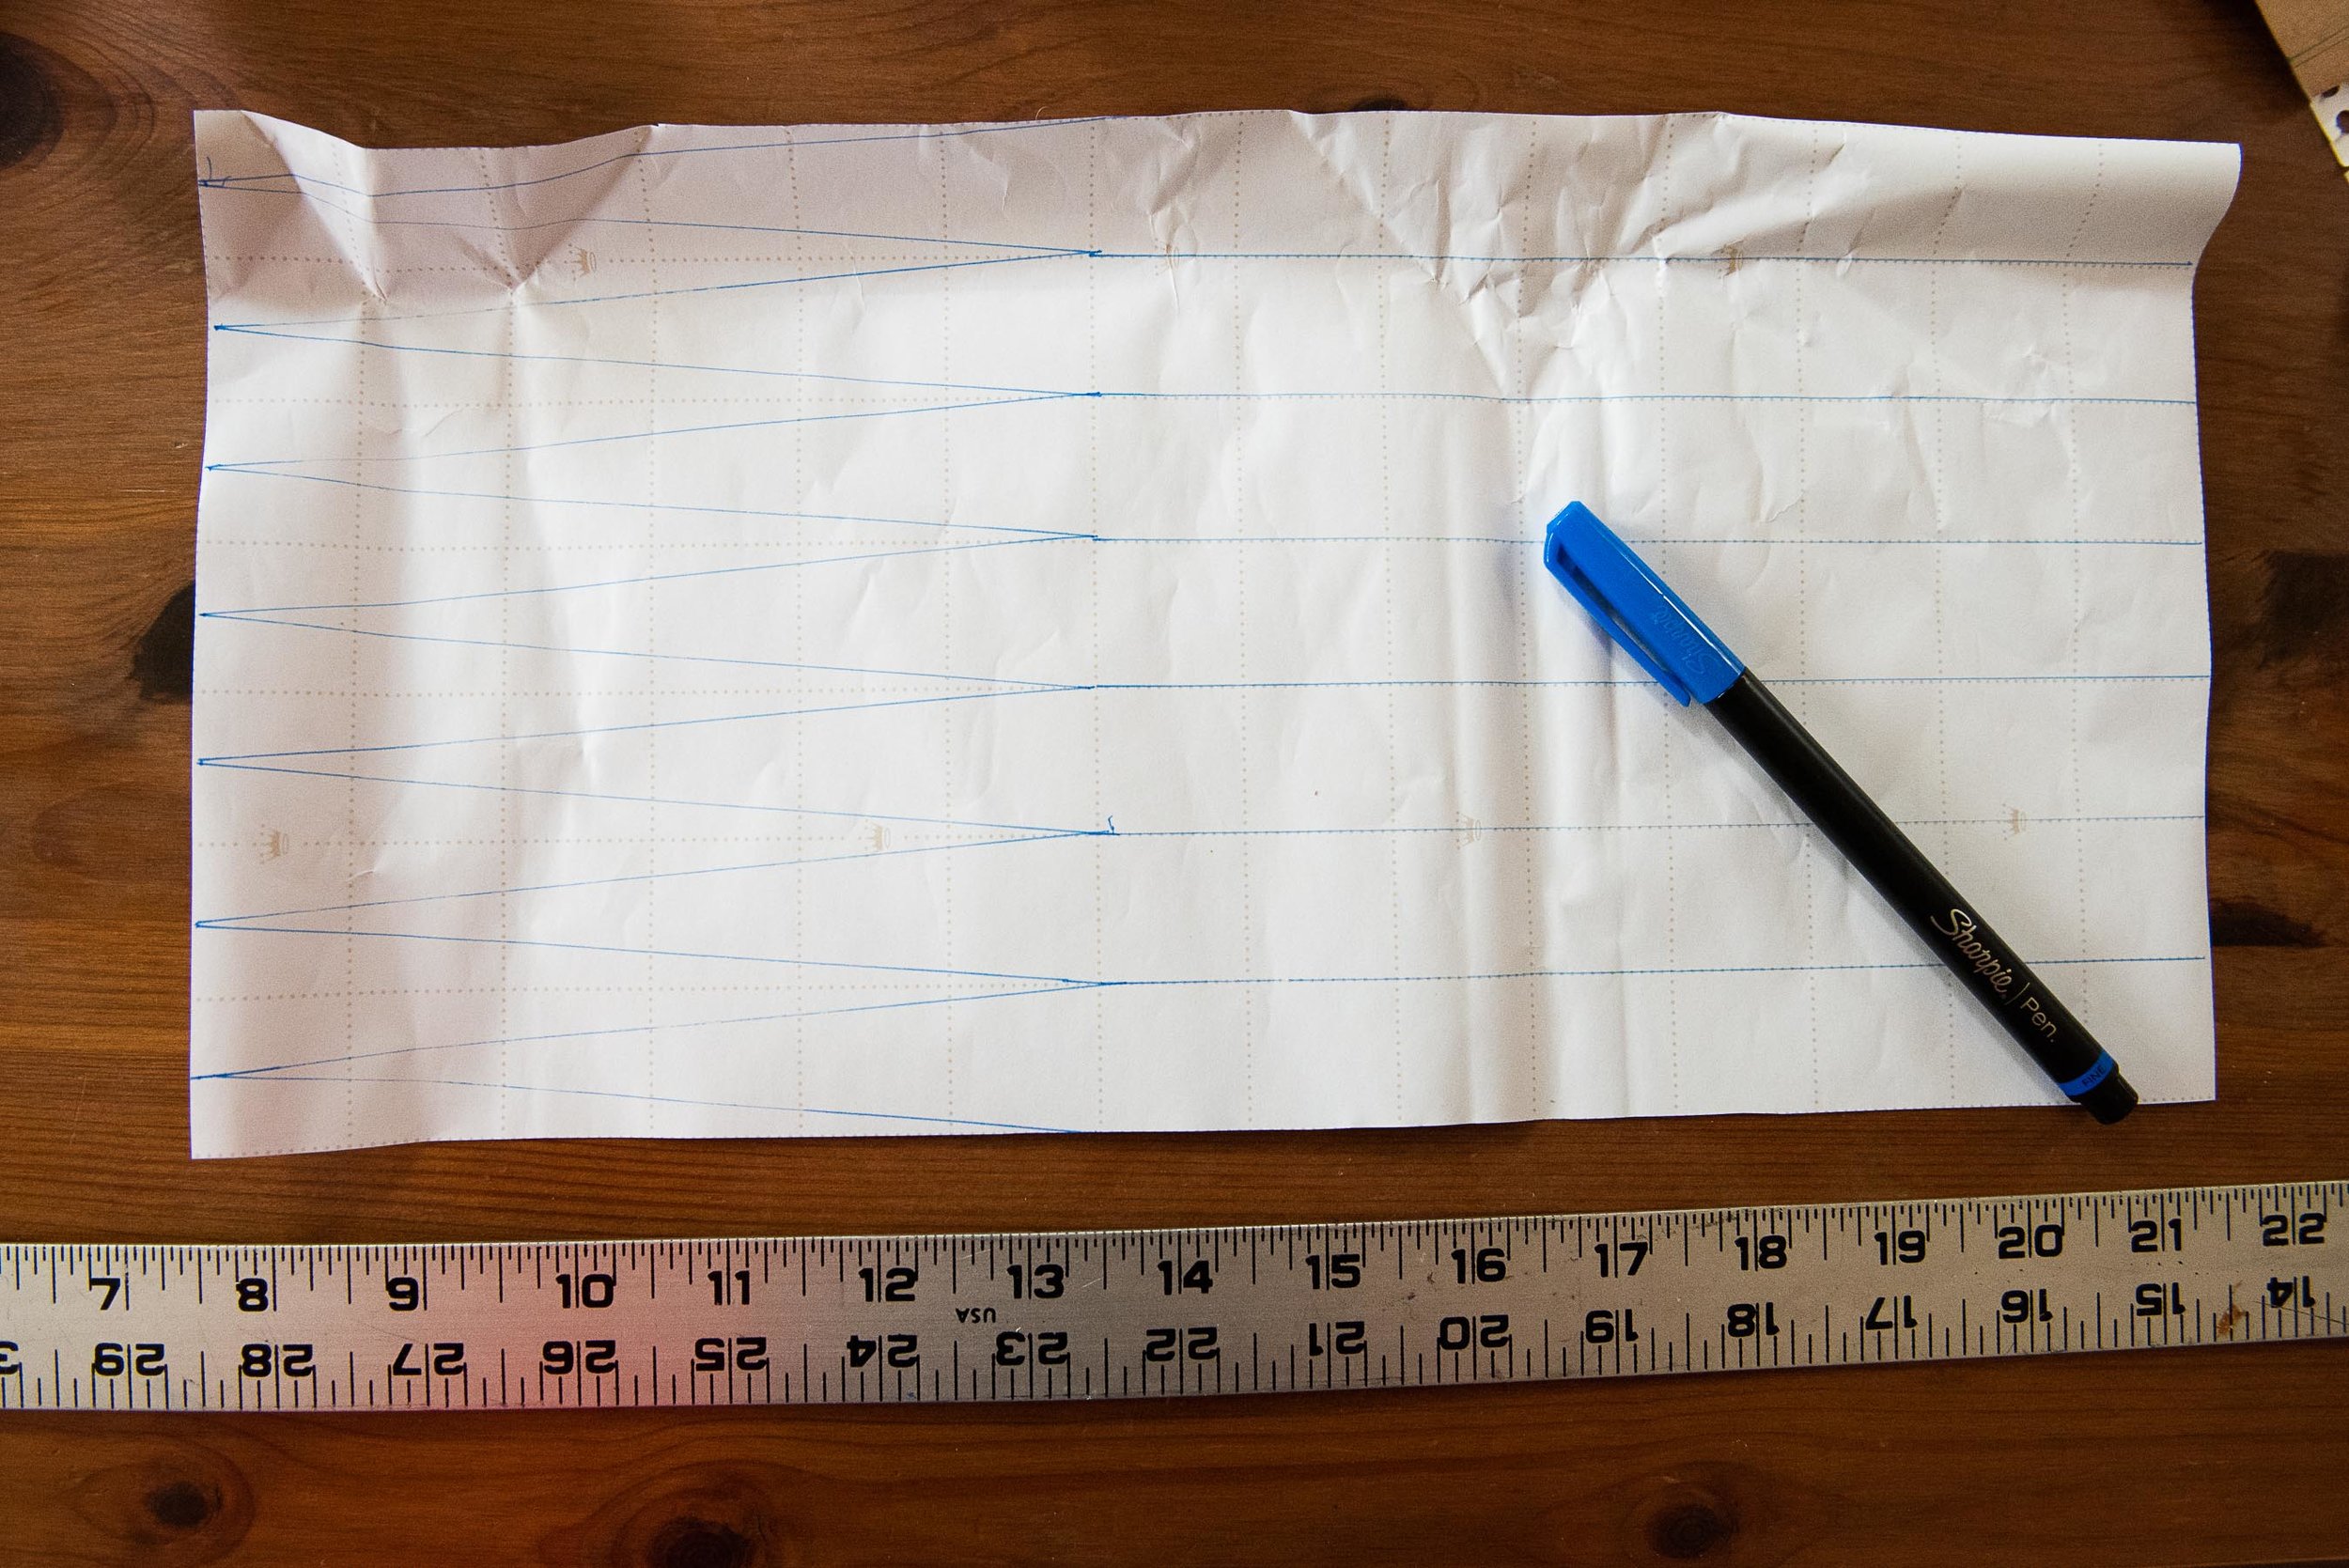
Measure your bead strips. This is actually easier when you use wrapping paper because a lot of modern wrapping paper has a 1 inch grid pattern printed on the back to help you with cutting in a straight line. Using a ruler, made notches ever half inch down the length of your paper and again on the exact opposite side. Then, take your ruler and connect the 1 inch hashes from the left side to the 1/2 inch hashes on the opposite side to form an interlocking series of triangles (see photos). Your first and last triangles will be irregularly shaped, cut those away and discard. Reese’s note: Different shapes of paper strips will make different shapes of beads, so feel free to play around with this once you get comfortable!
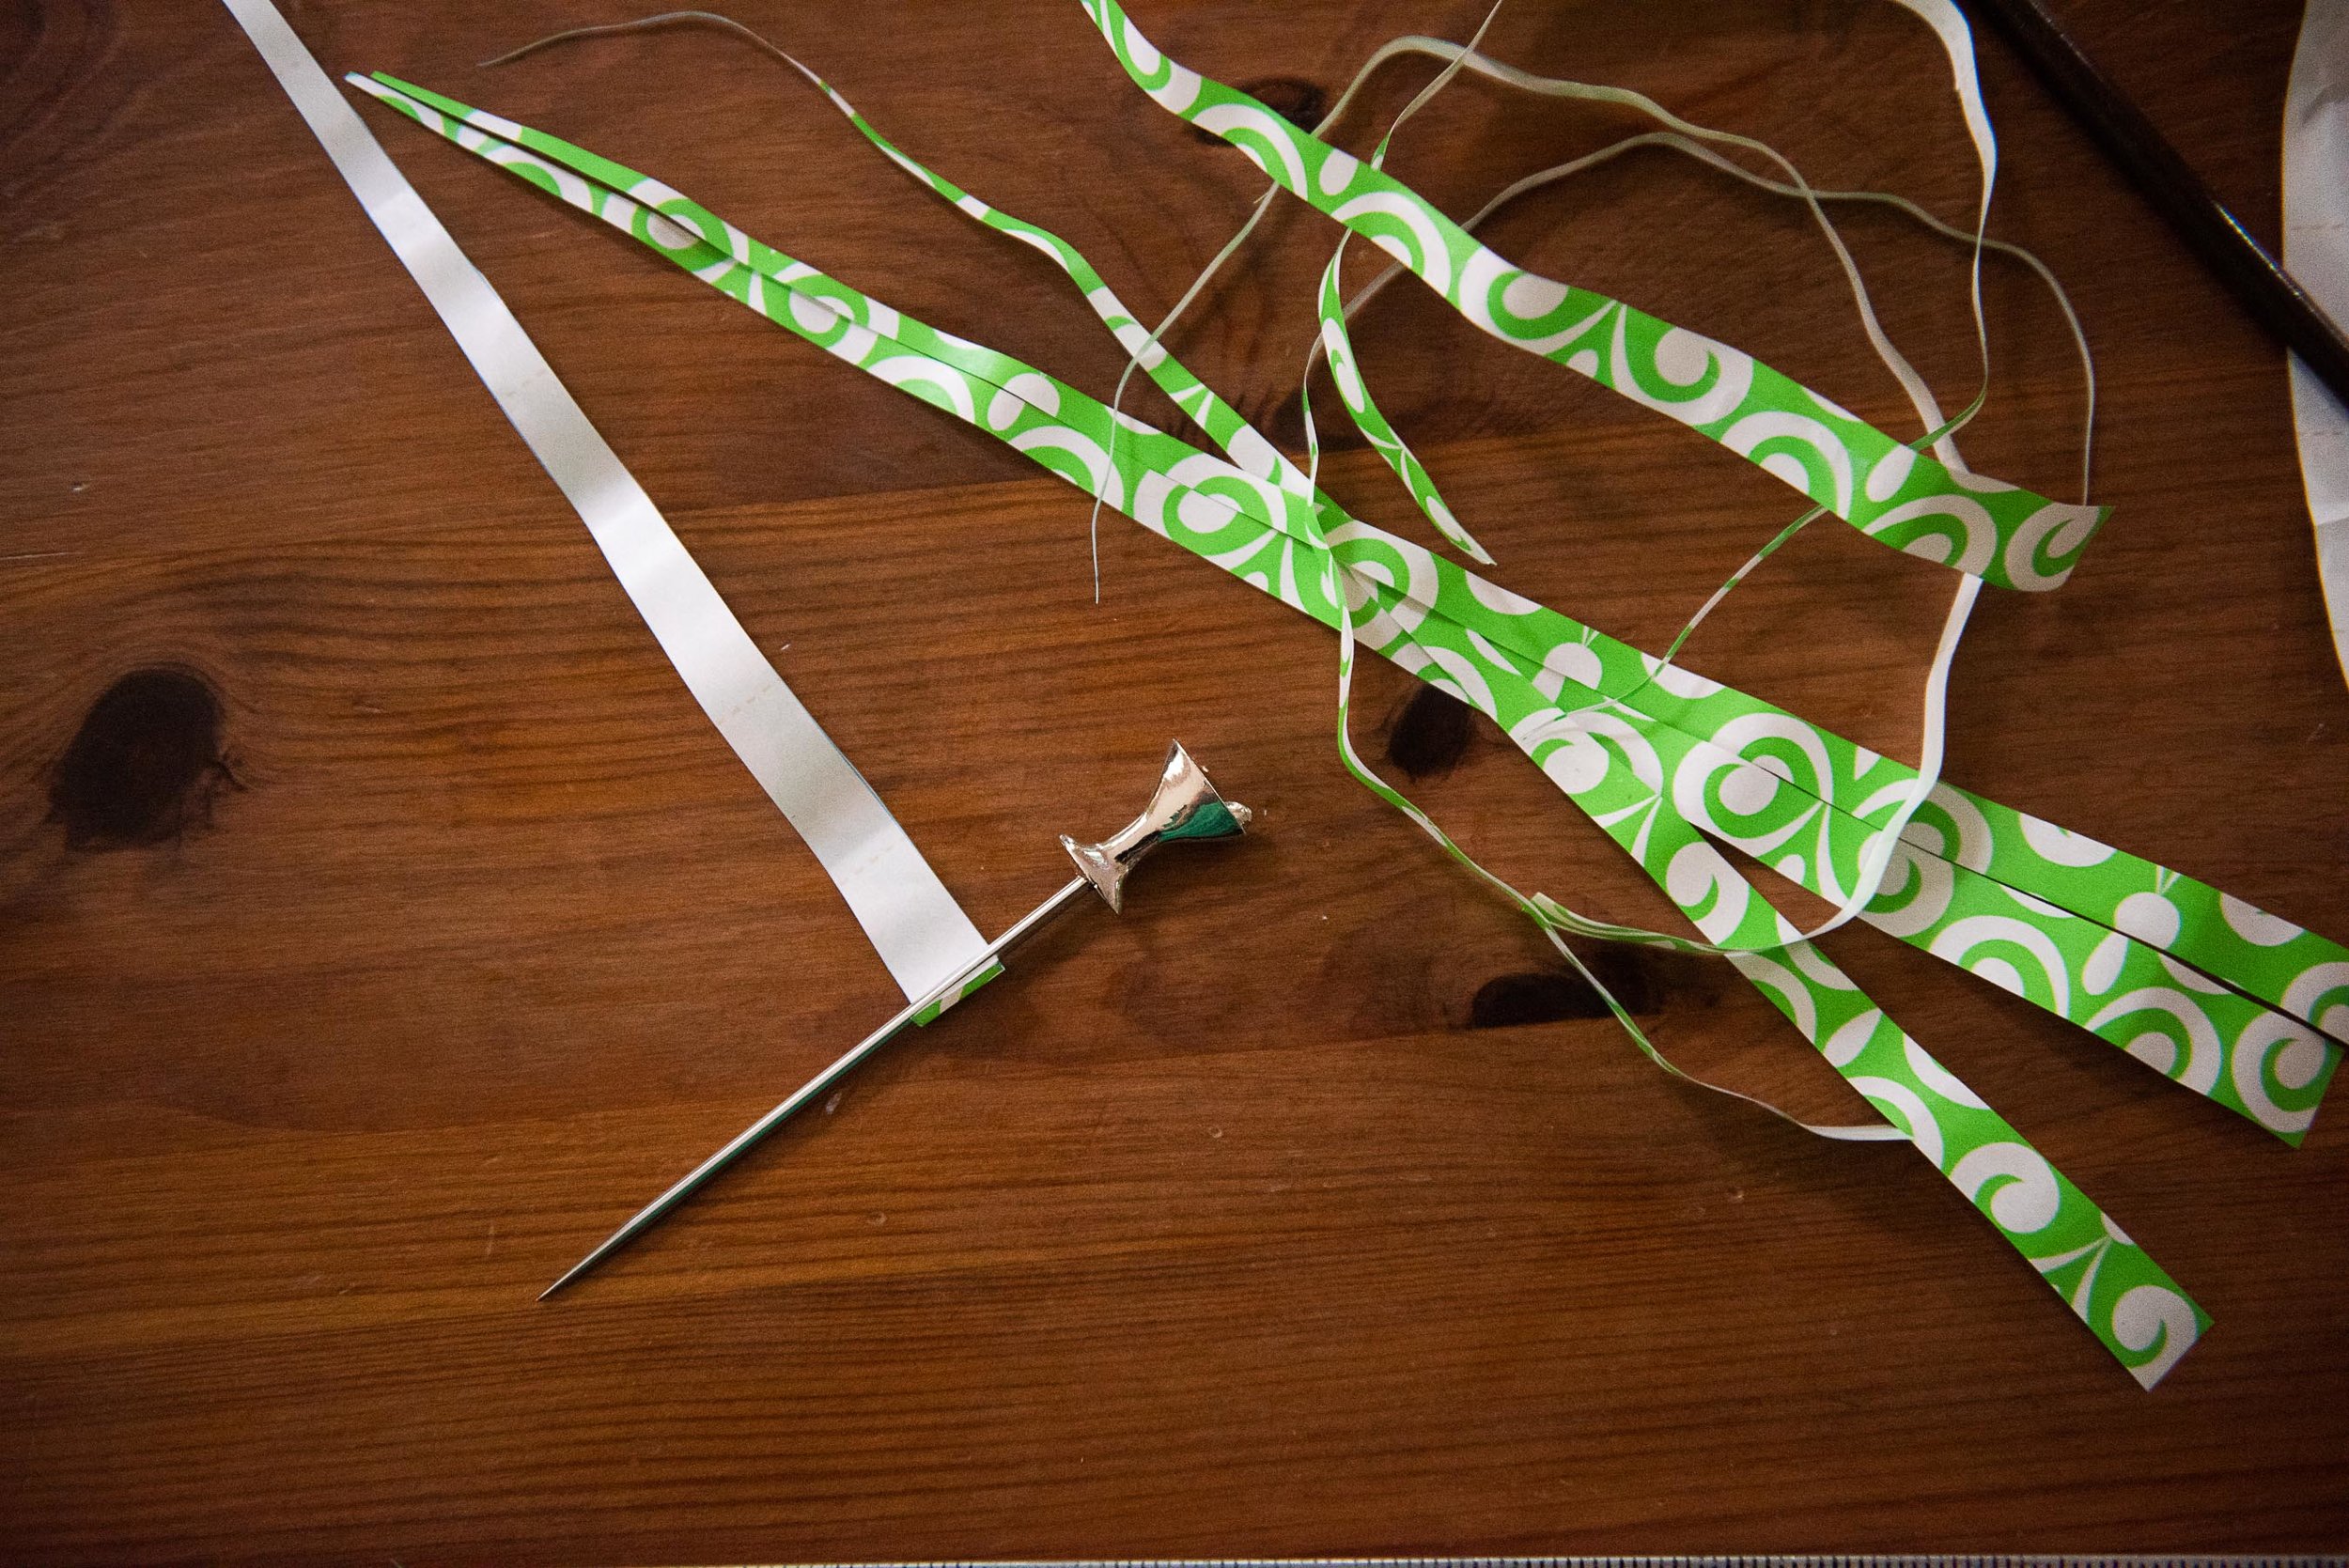
Carefully cut along your lines to form a series of long paper triangle strips from your wrapping paper. Do not worry if there is tape on your strips, you’ll never see it in the end product.
Take the wide end of your triangle and align it lengthwise along your toothpick. Tightly roll the length of your strip, keeping your paper layers as centered as possible as you roll and apply a small amount of glue to the pointy end of your strip and secure. Reese’s note: If you are working with thicker paper cut in longer strips and having trouble keeping your paper tightly wound, you can periodically apply a small amount of glue as you roll to keep the paper together more easily. This tip will make your life a lot easier but may make bead rolling harder if you’re using thin paper such as tissue paper where the glue may bleed through.
Let your glue set. I left mine for about 20-30 minutes.
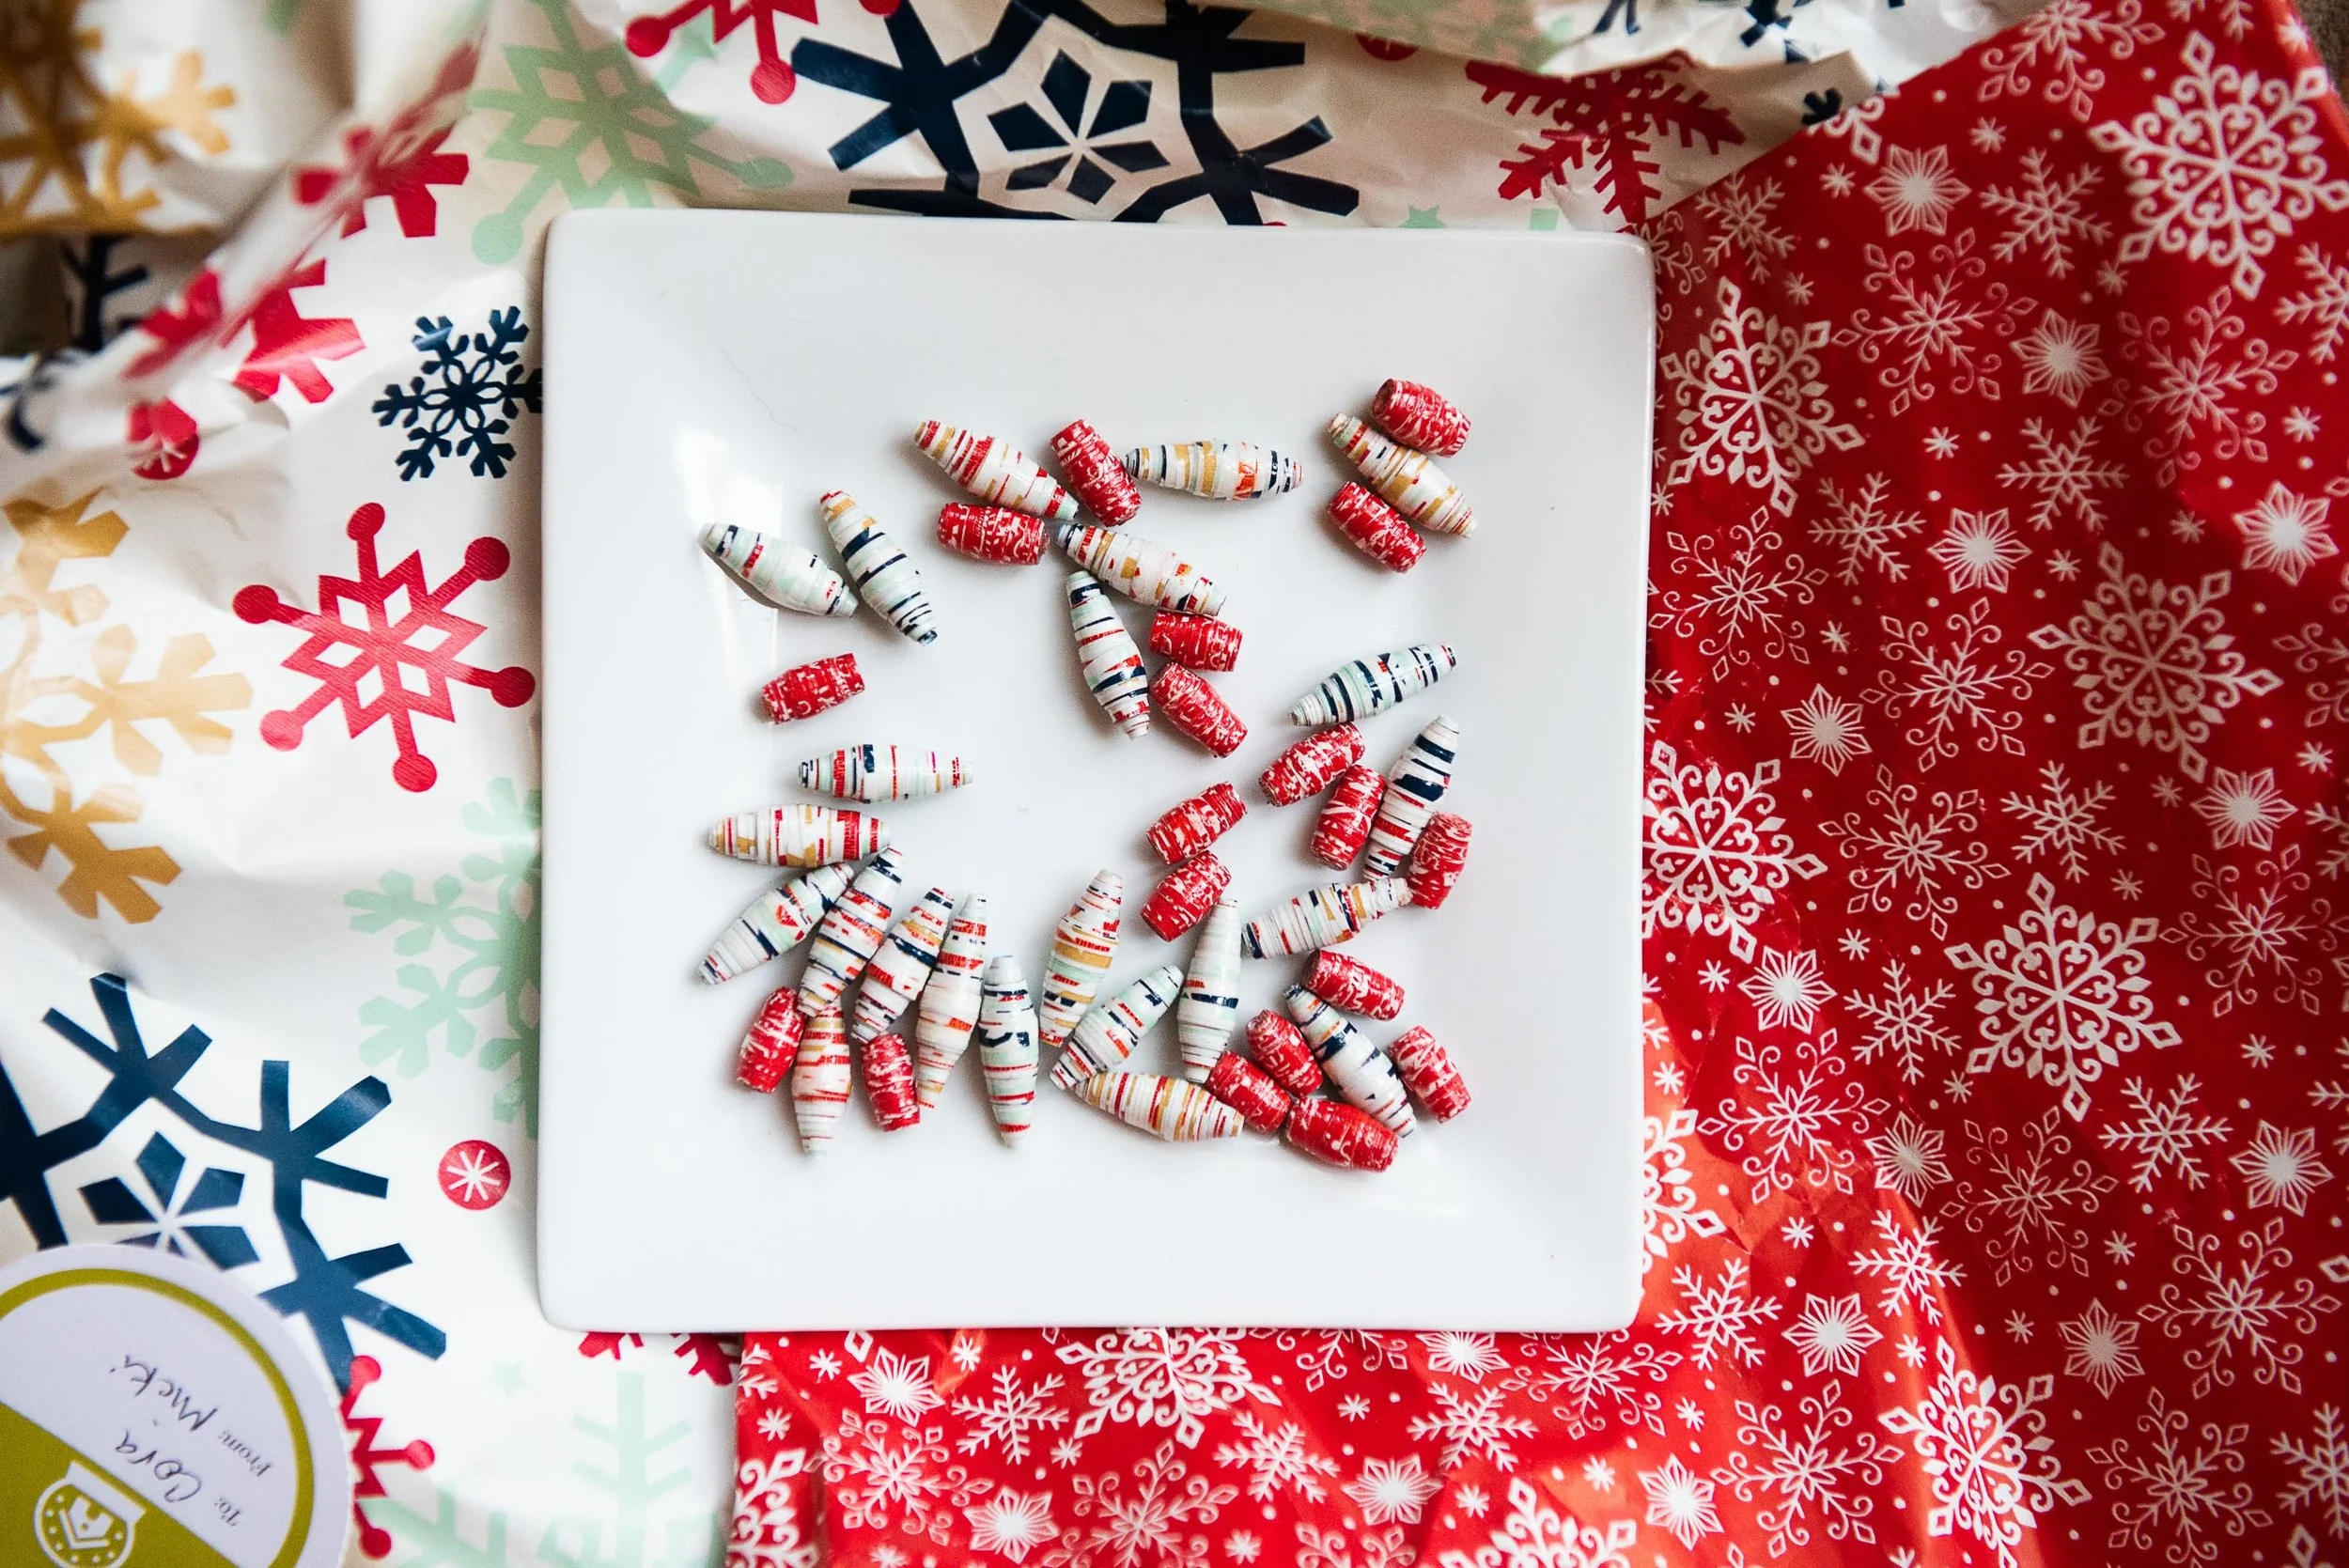
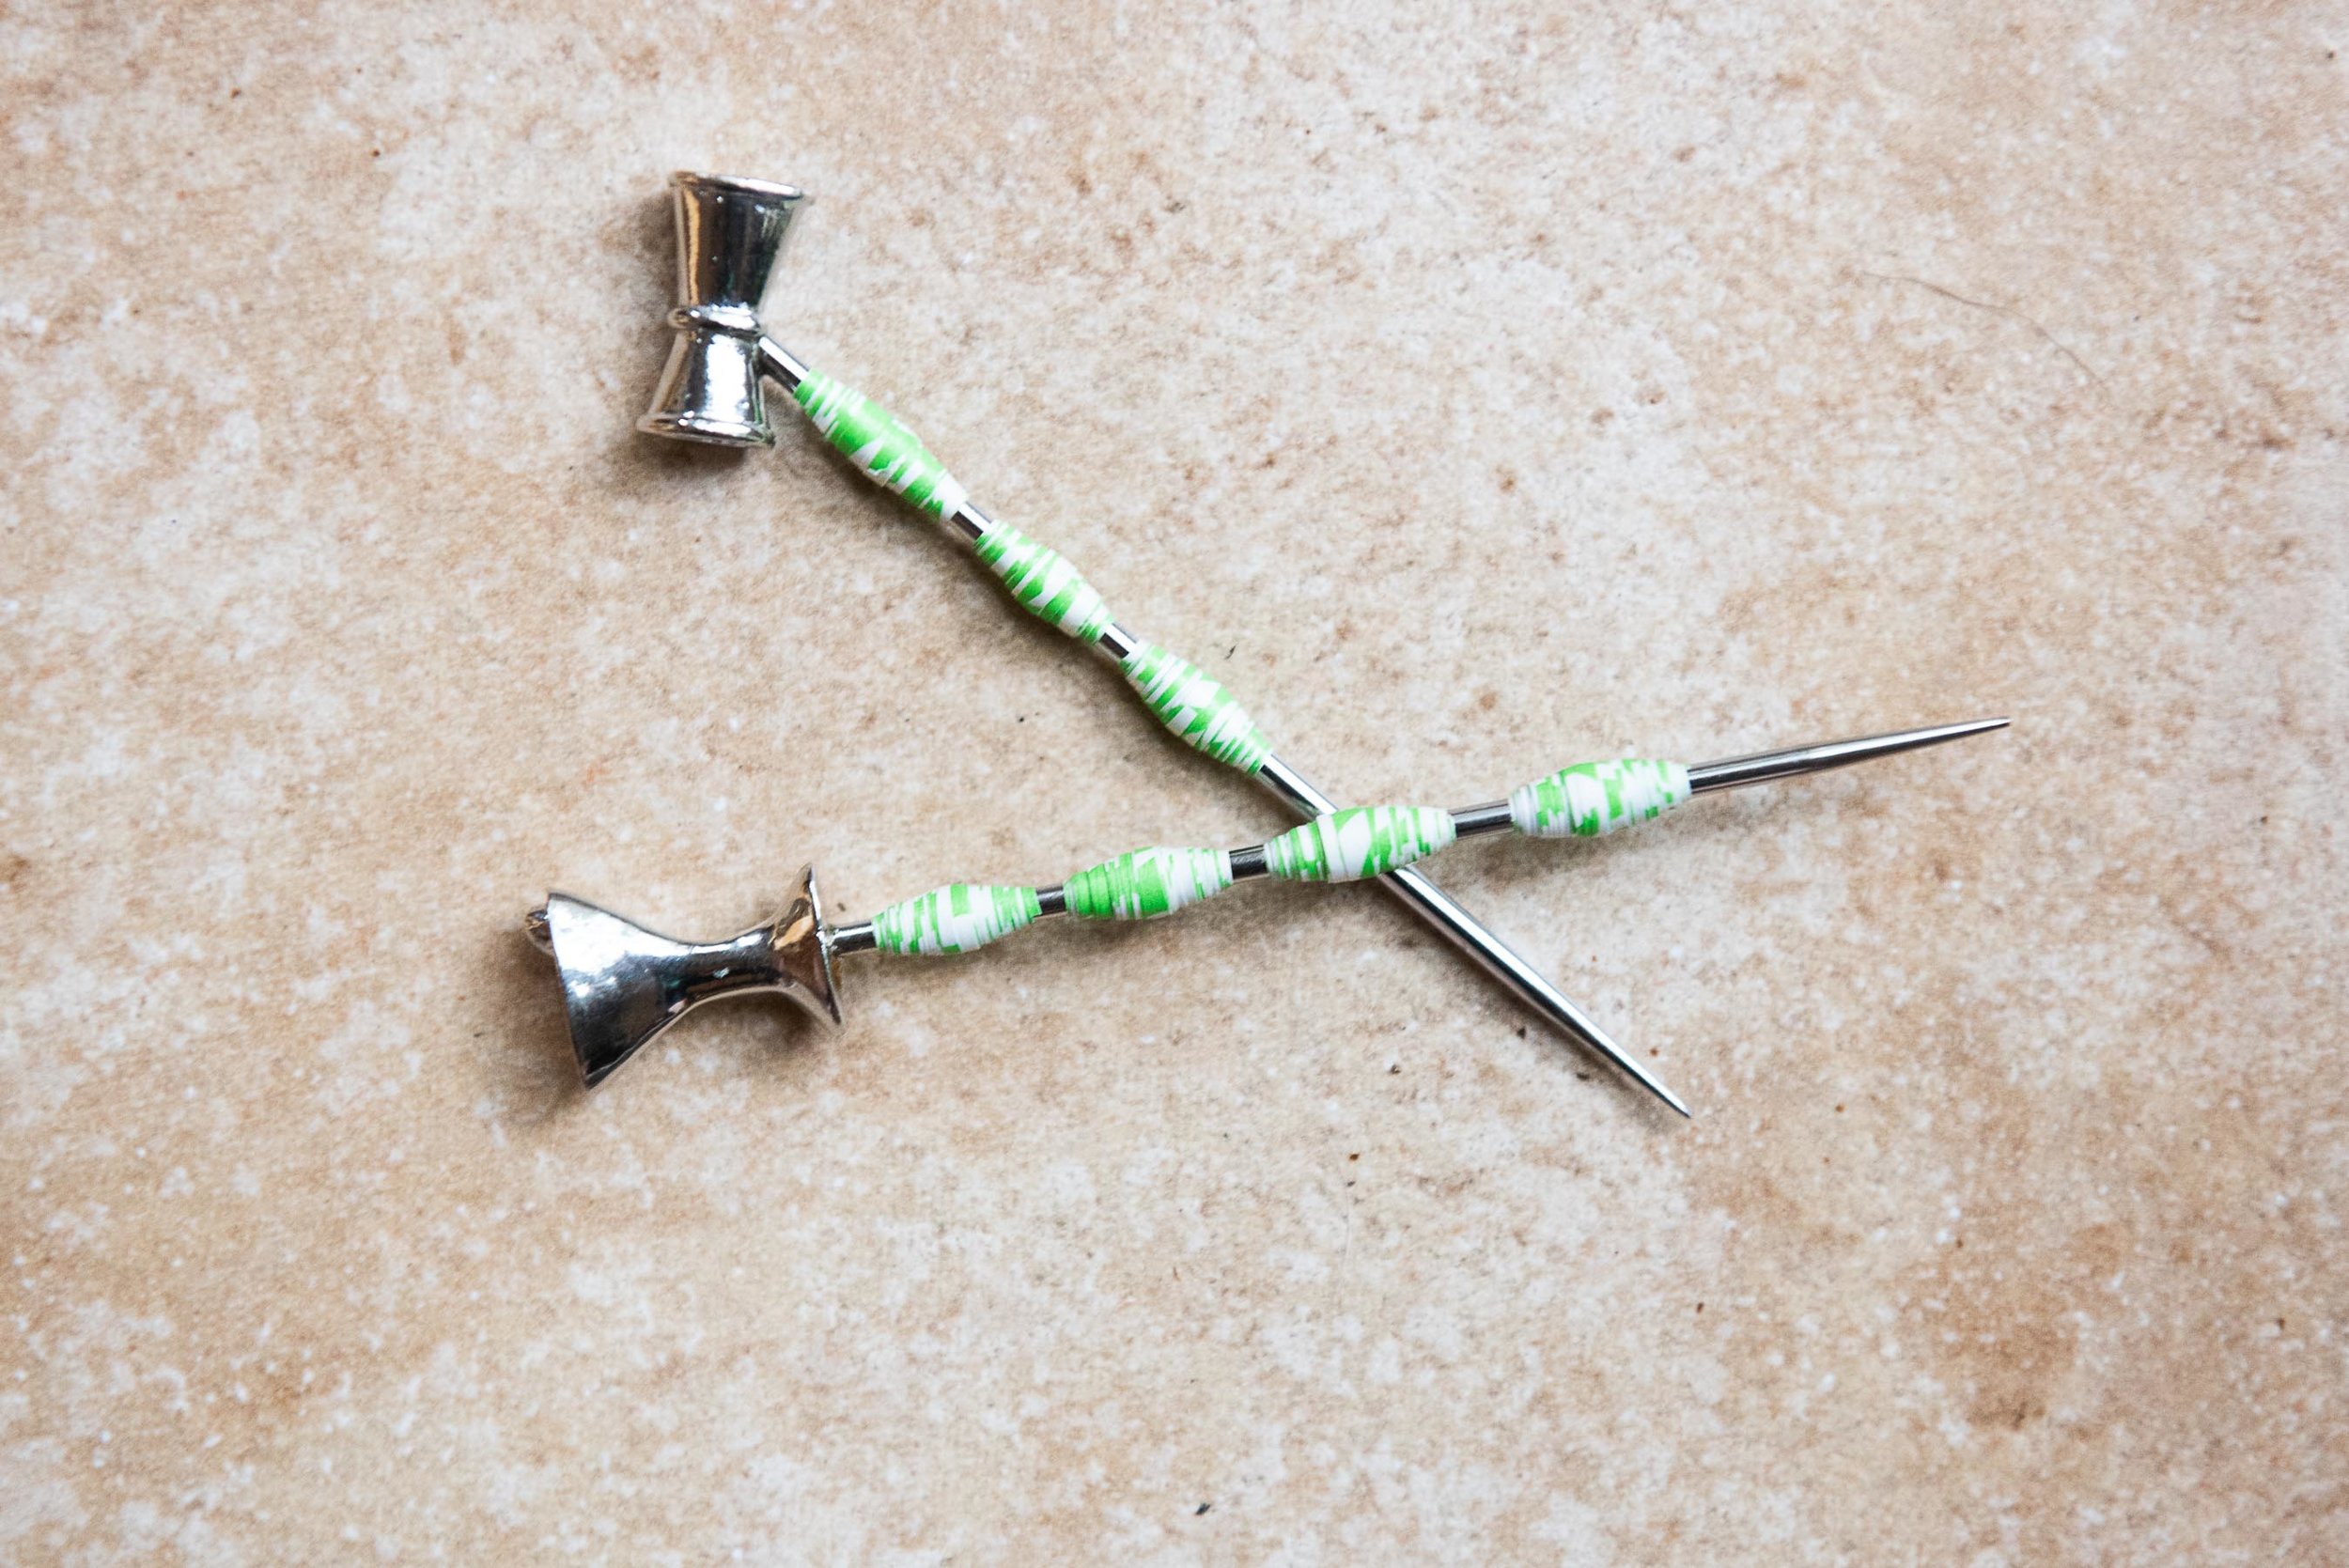
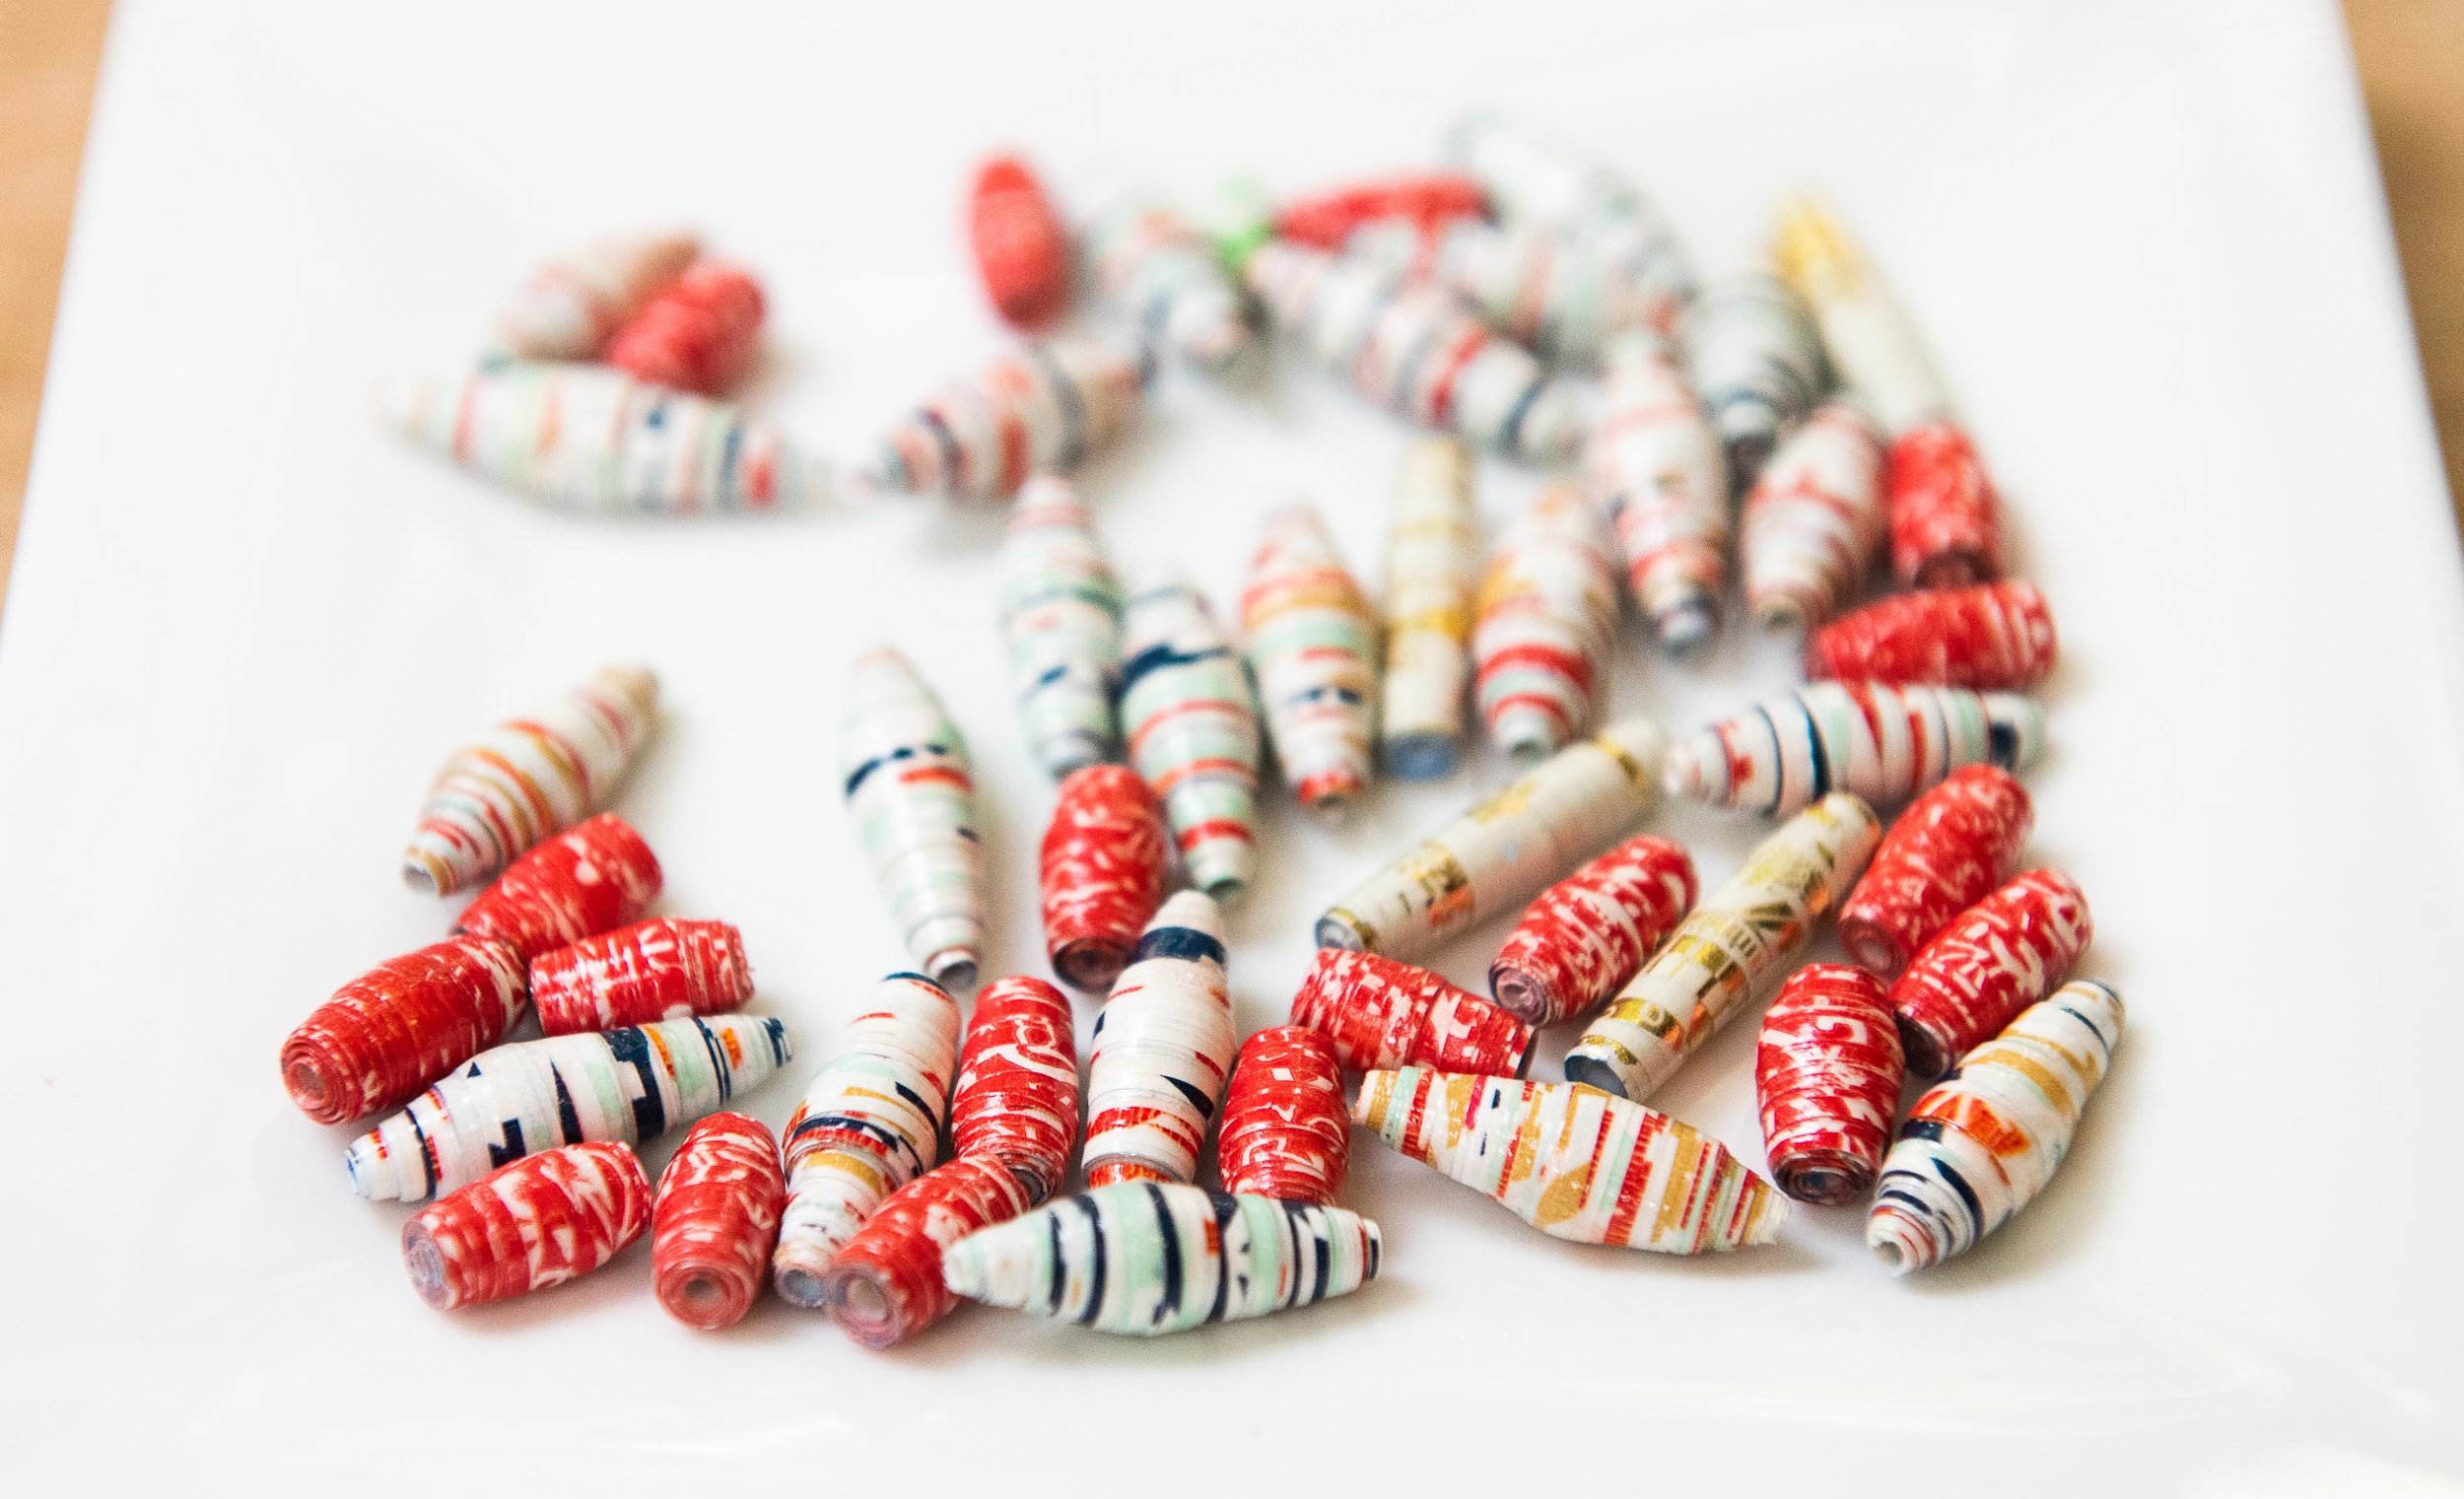
Your upcycled wrapping paper beads are now ready to cure. Congrats! Gently slide your paper beads away from your toothpick using the pads of your thumb and forefinger to maintain shape. IF you use your fingernails here, you may leave marks on your paper. Your beads are still fragile at this point.
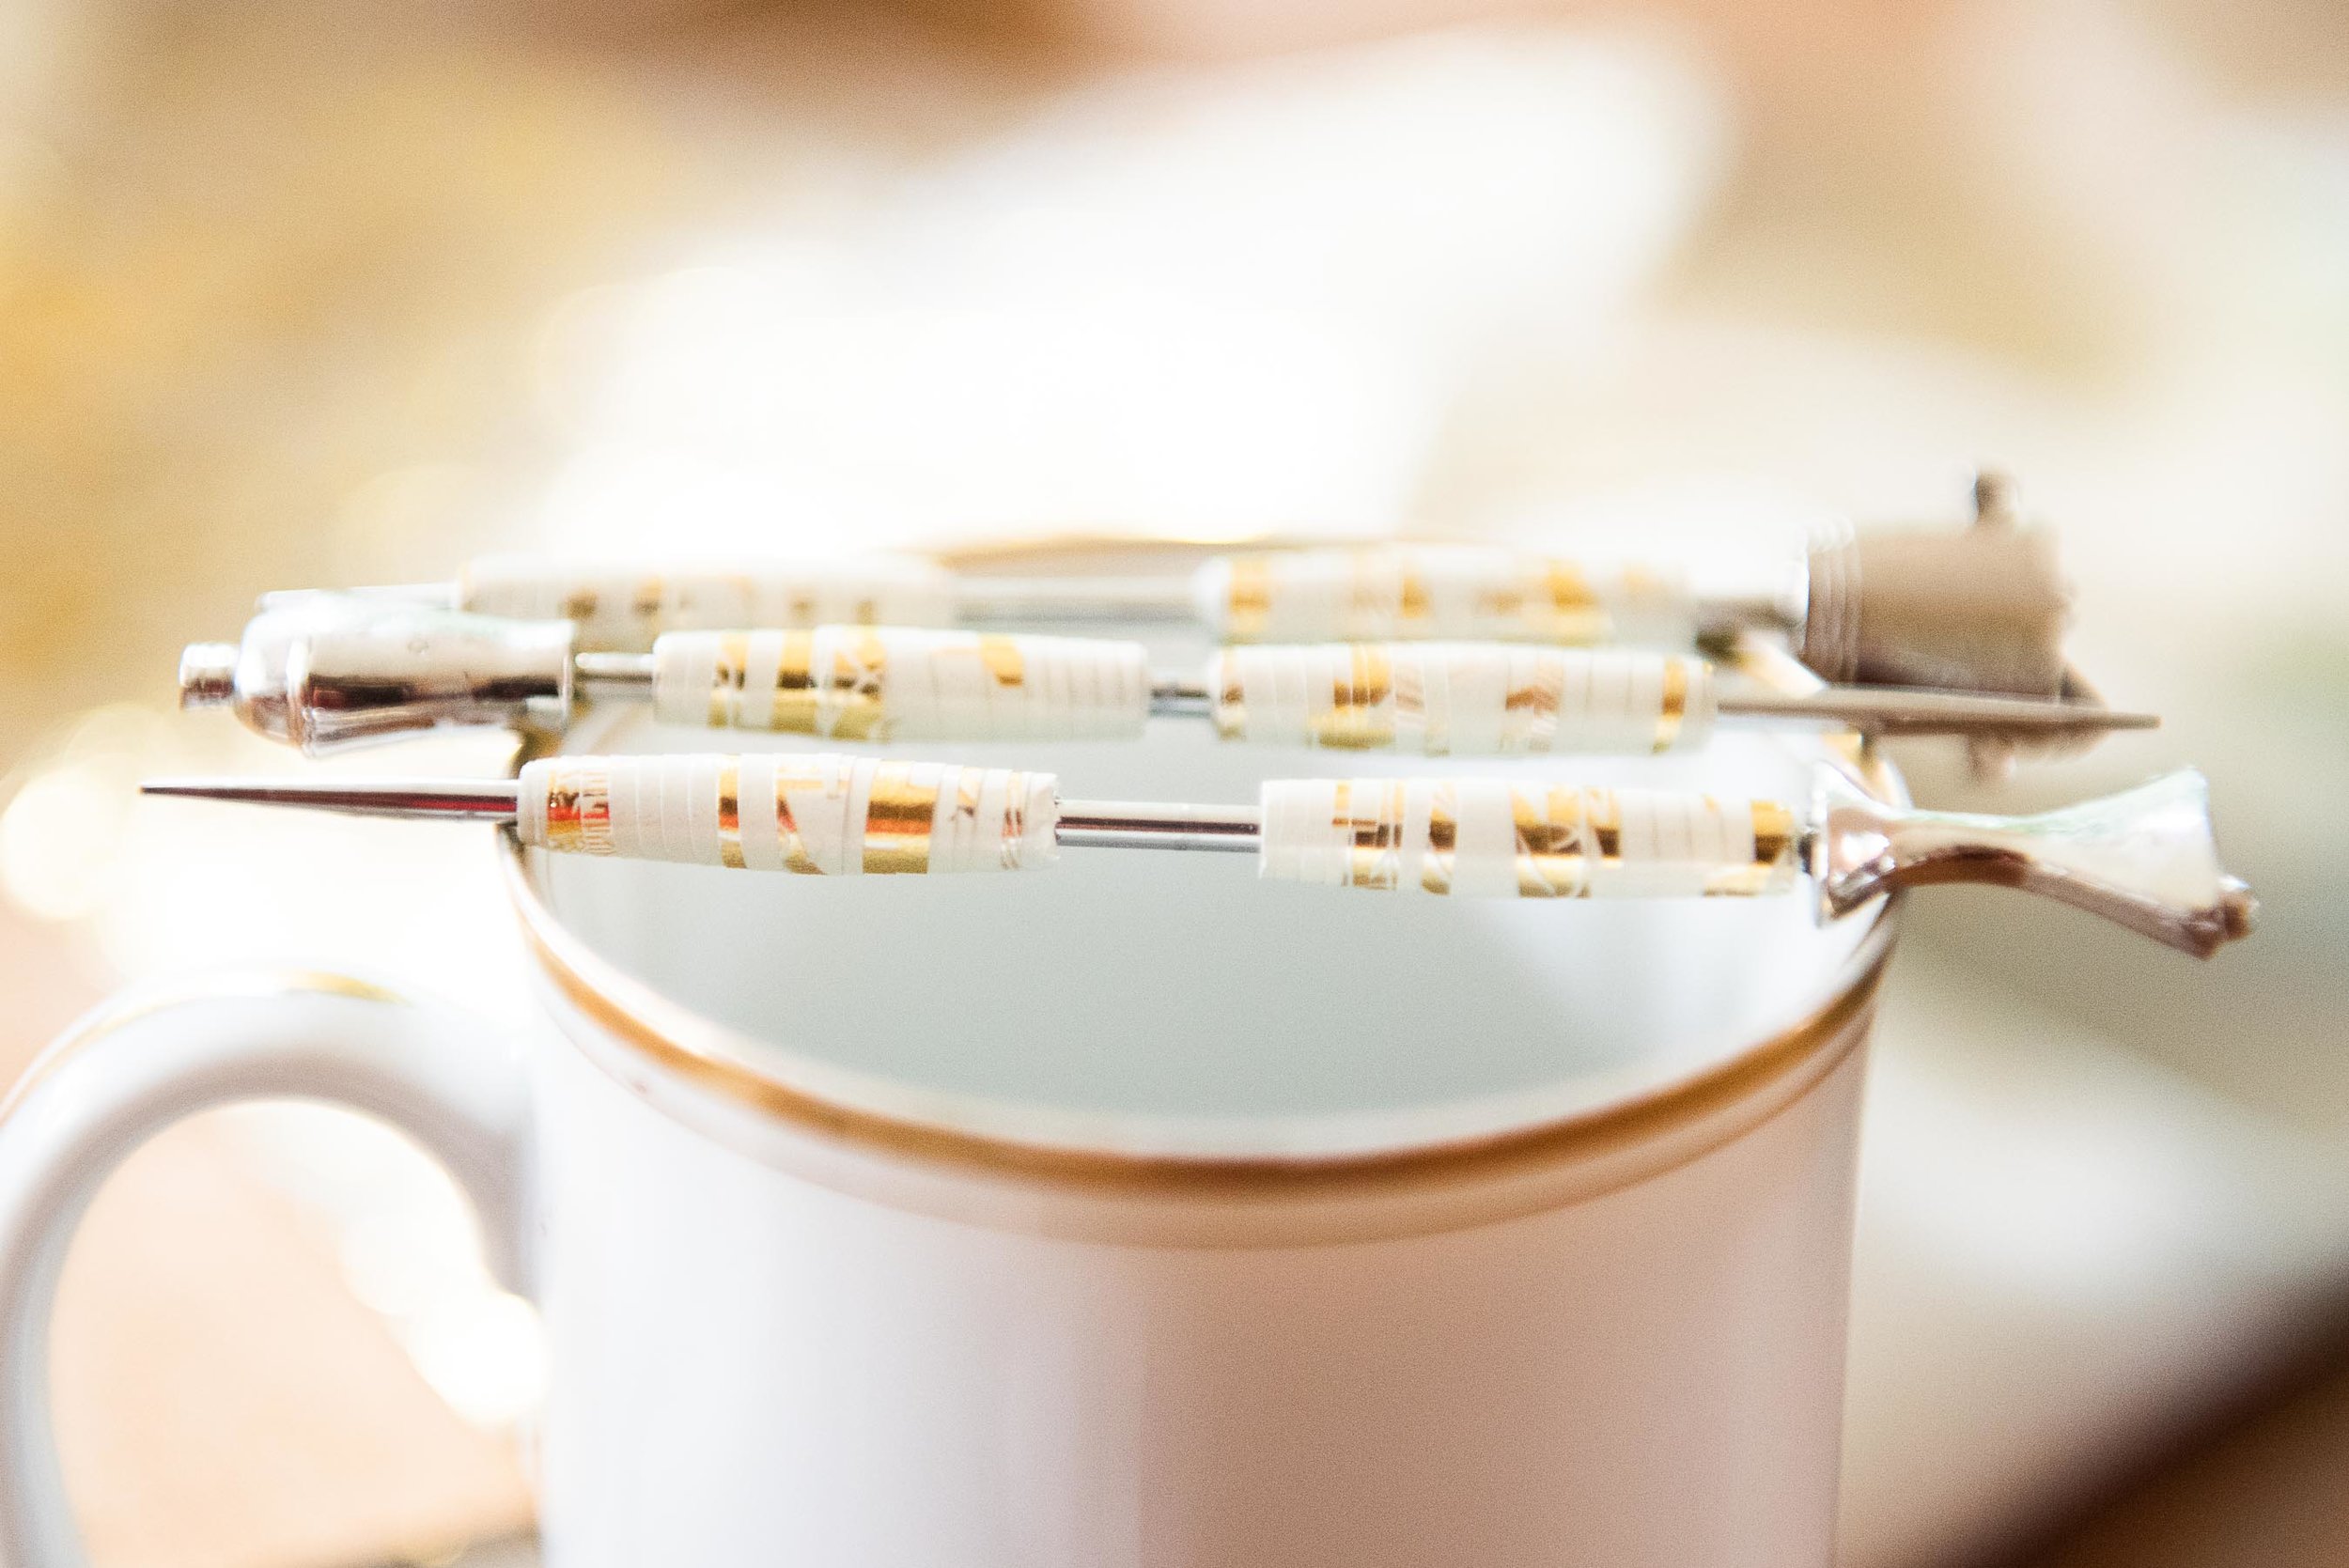
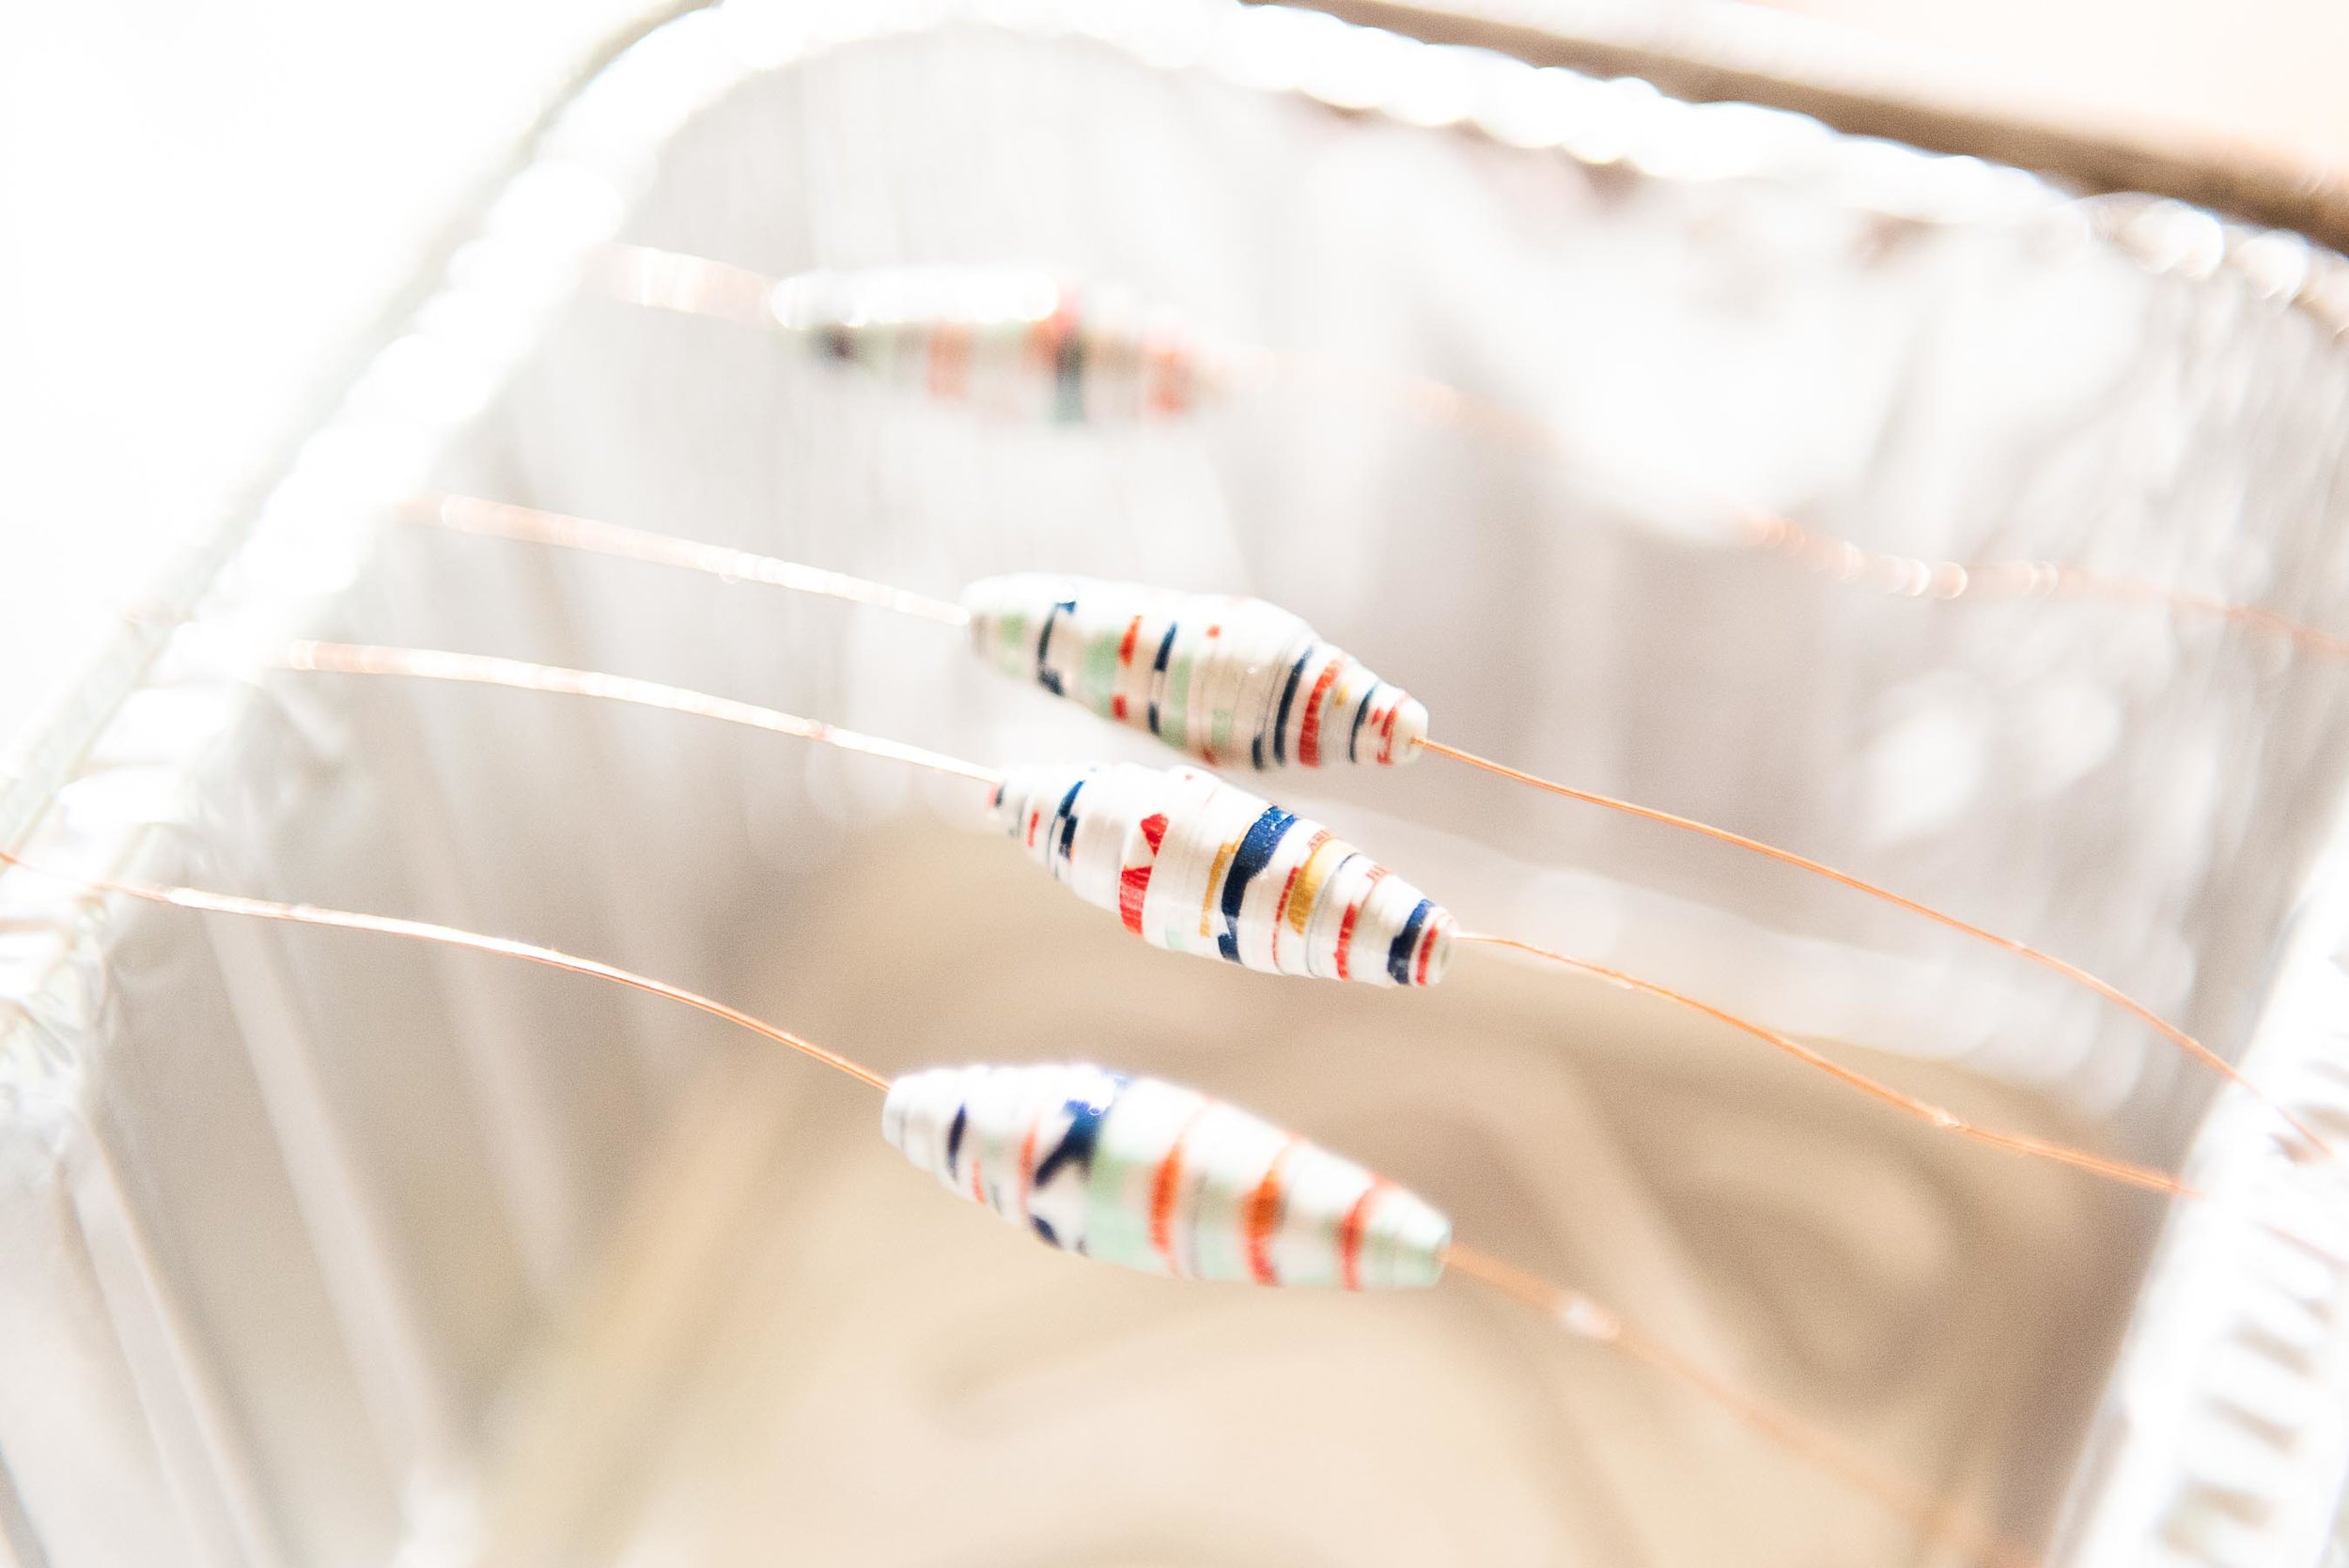
String several beads onto each piece of your beads on to your floral wire, making sure there’s enough room to slide them back and forth. Pinch the ends of your wire over the edges of your loaf pan or glasses. Then paint on a layer of your varnish. Let your first layer dry (it will be quick) but shift your beads along your wire every 5 minutes or so until no longer tacky. This will prevent any varnish from adhering the bead to the wire. Let dry thoroughly (I went on about my day for an hour or two) and repeat. Your beads should now be hard, water resistant, and gloss!
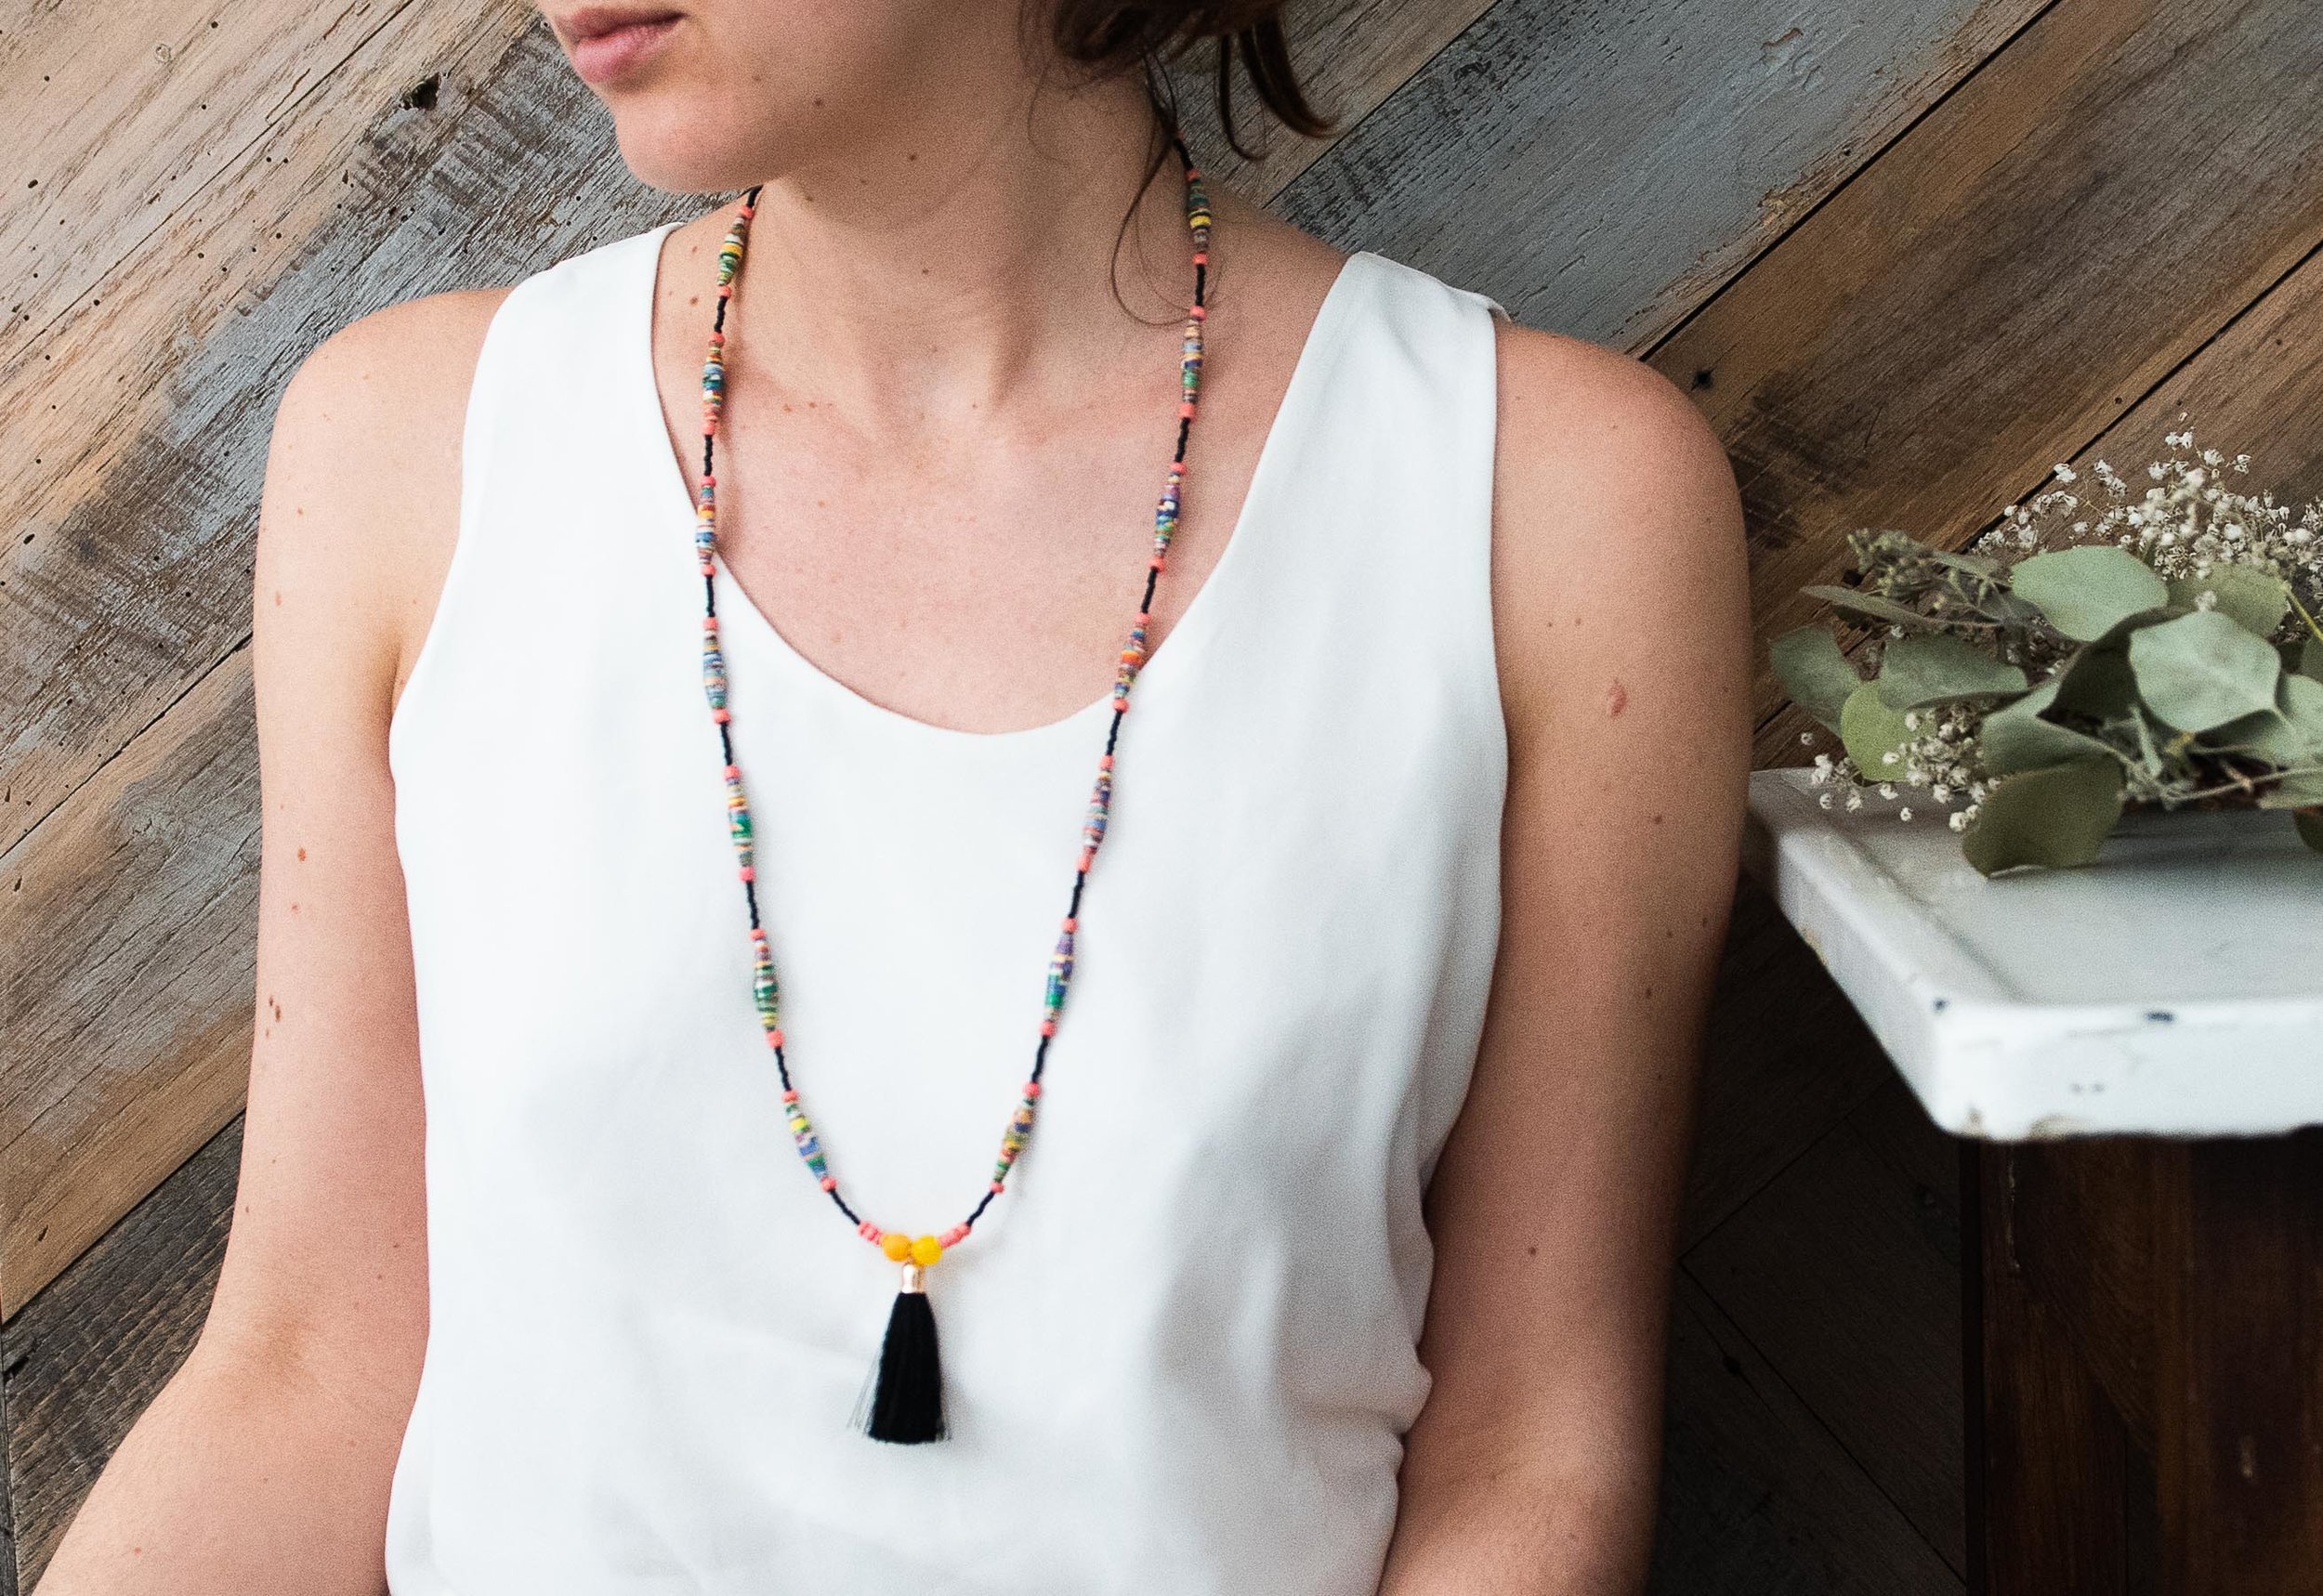
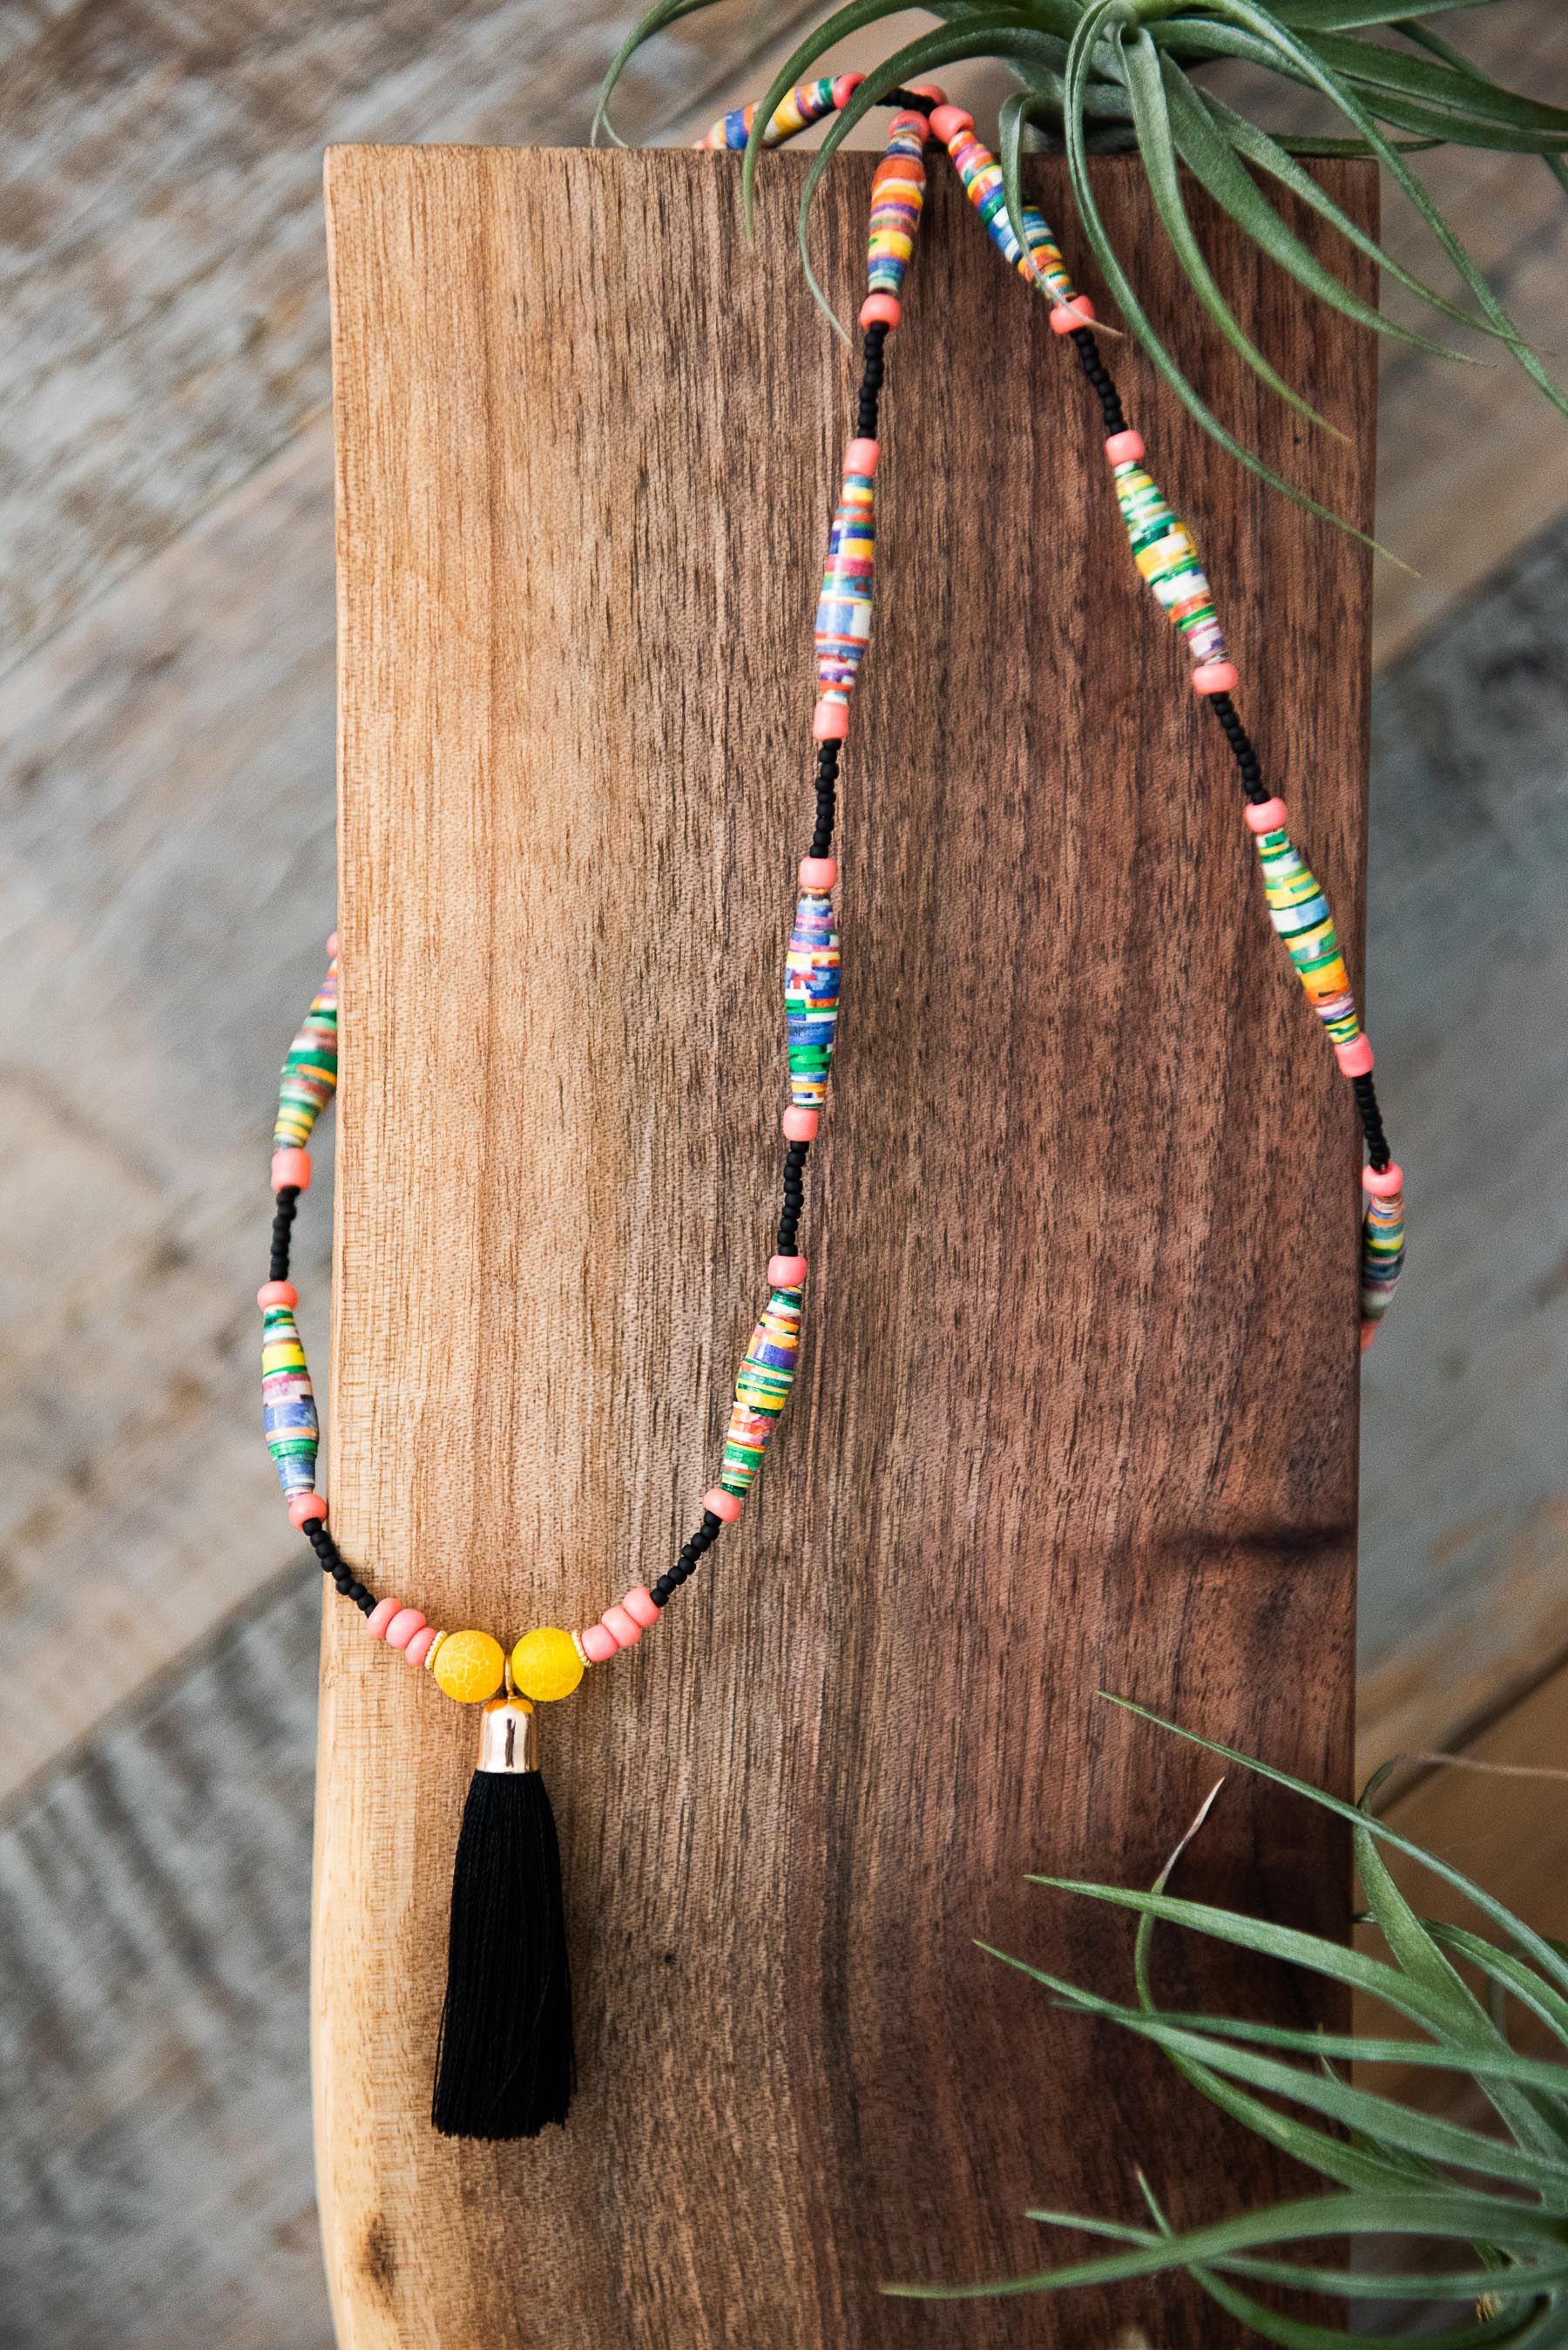
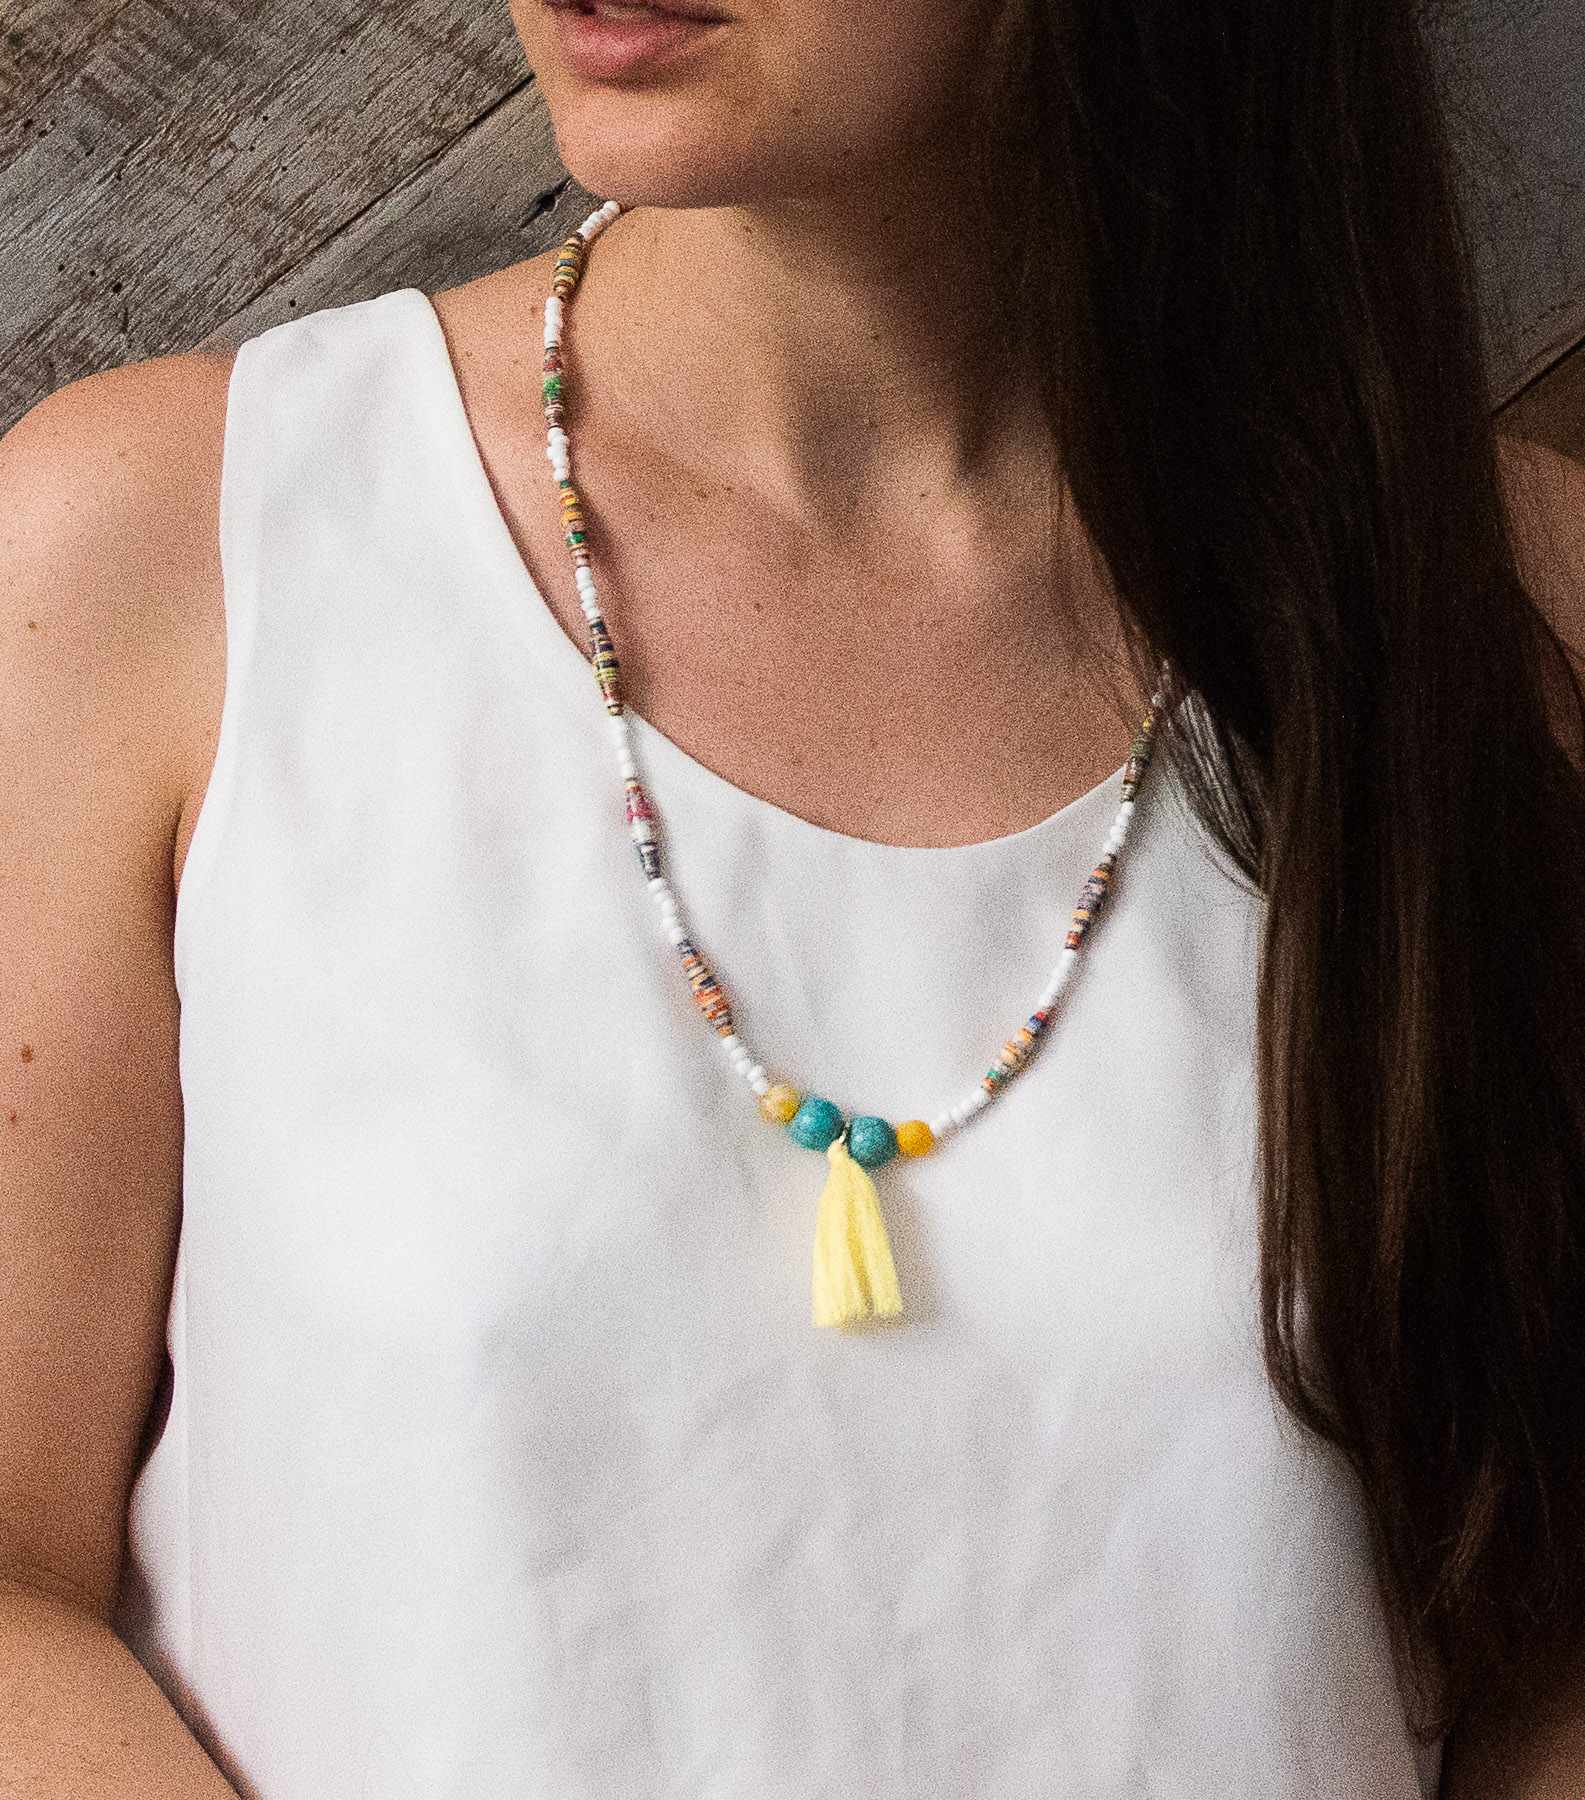
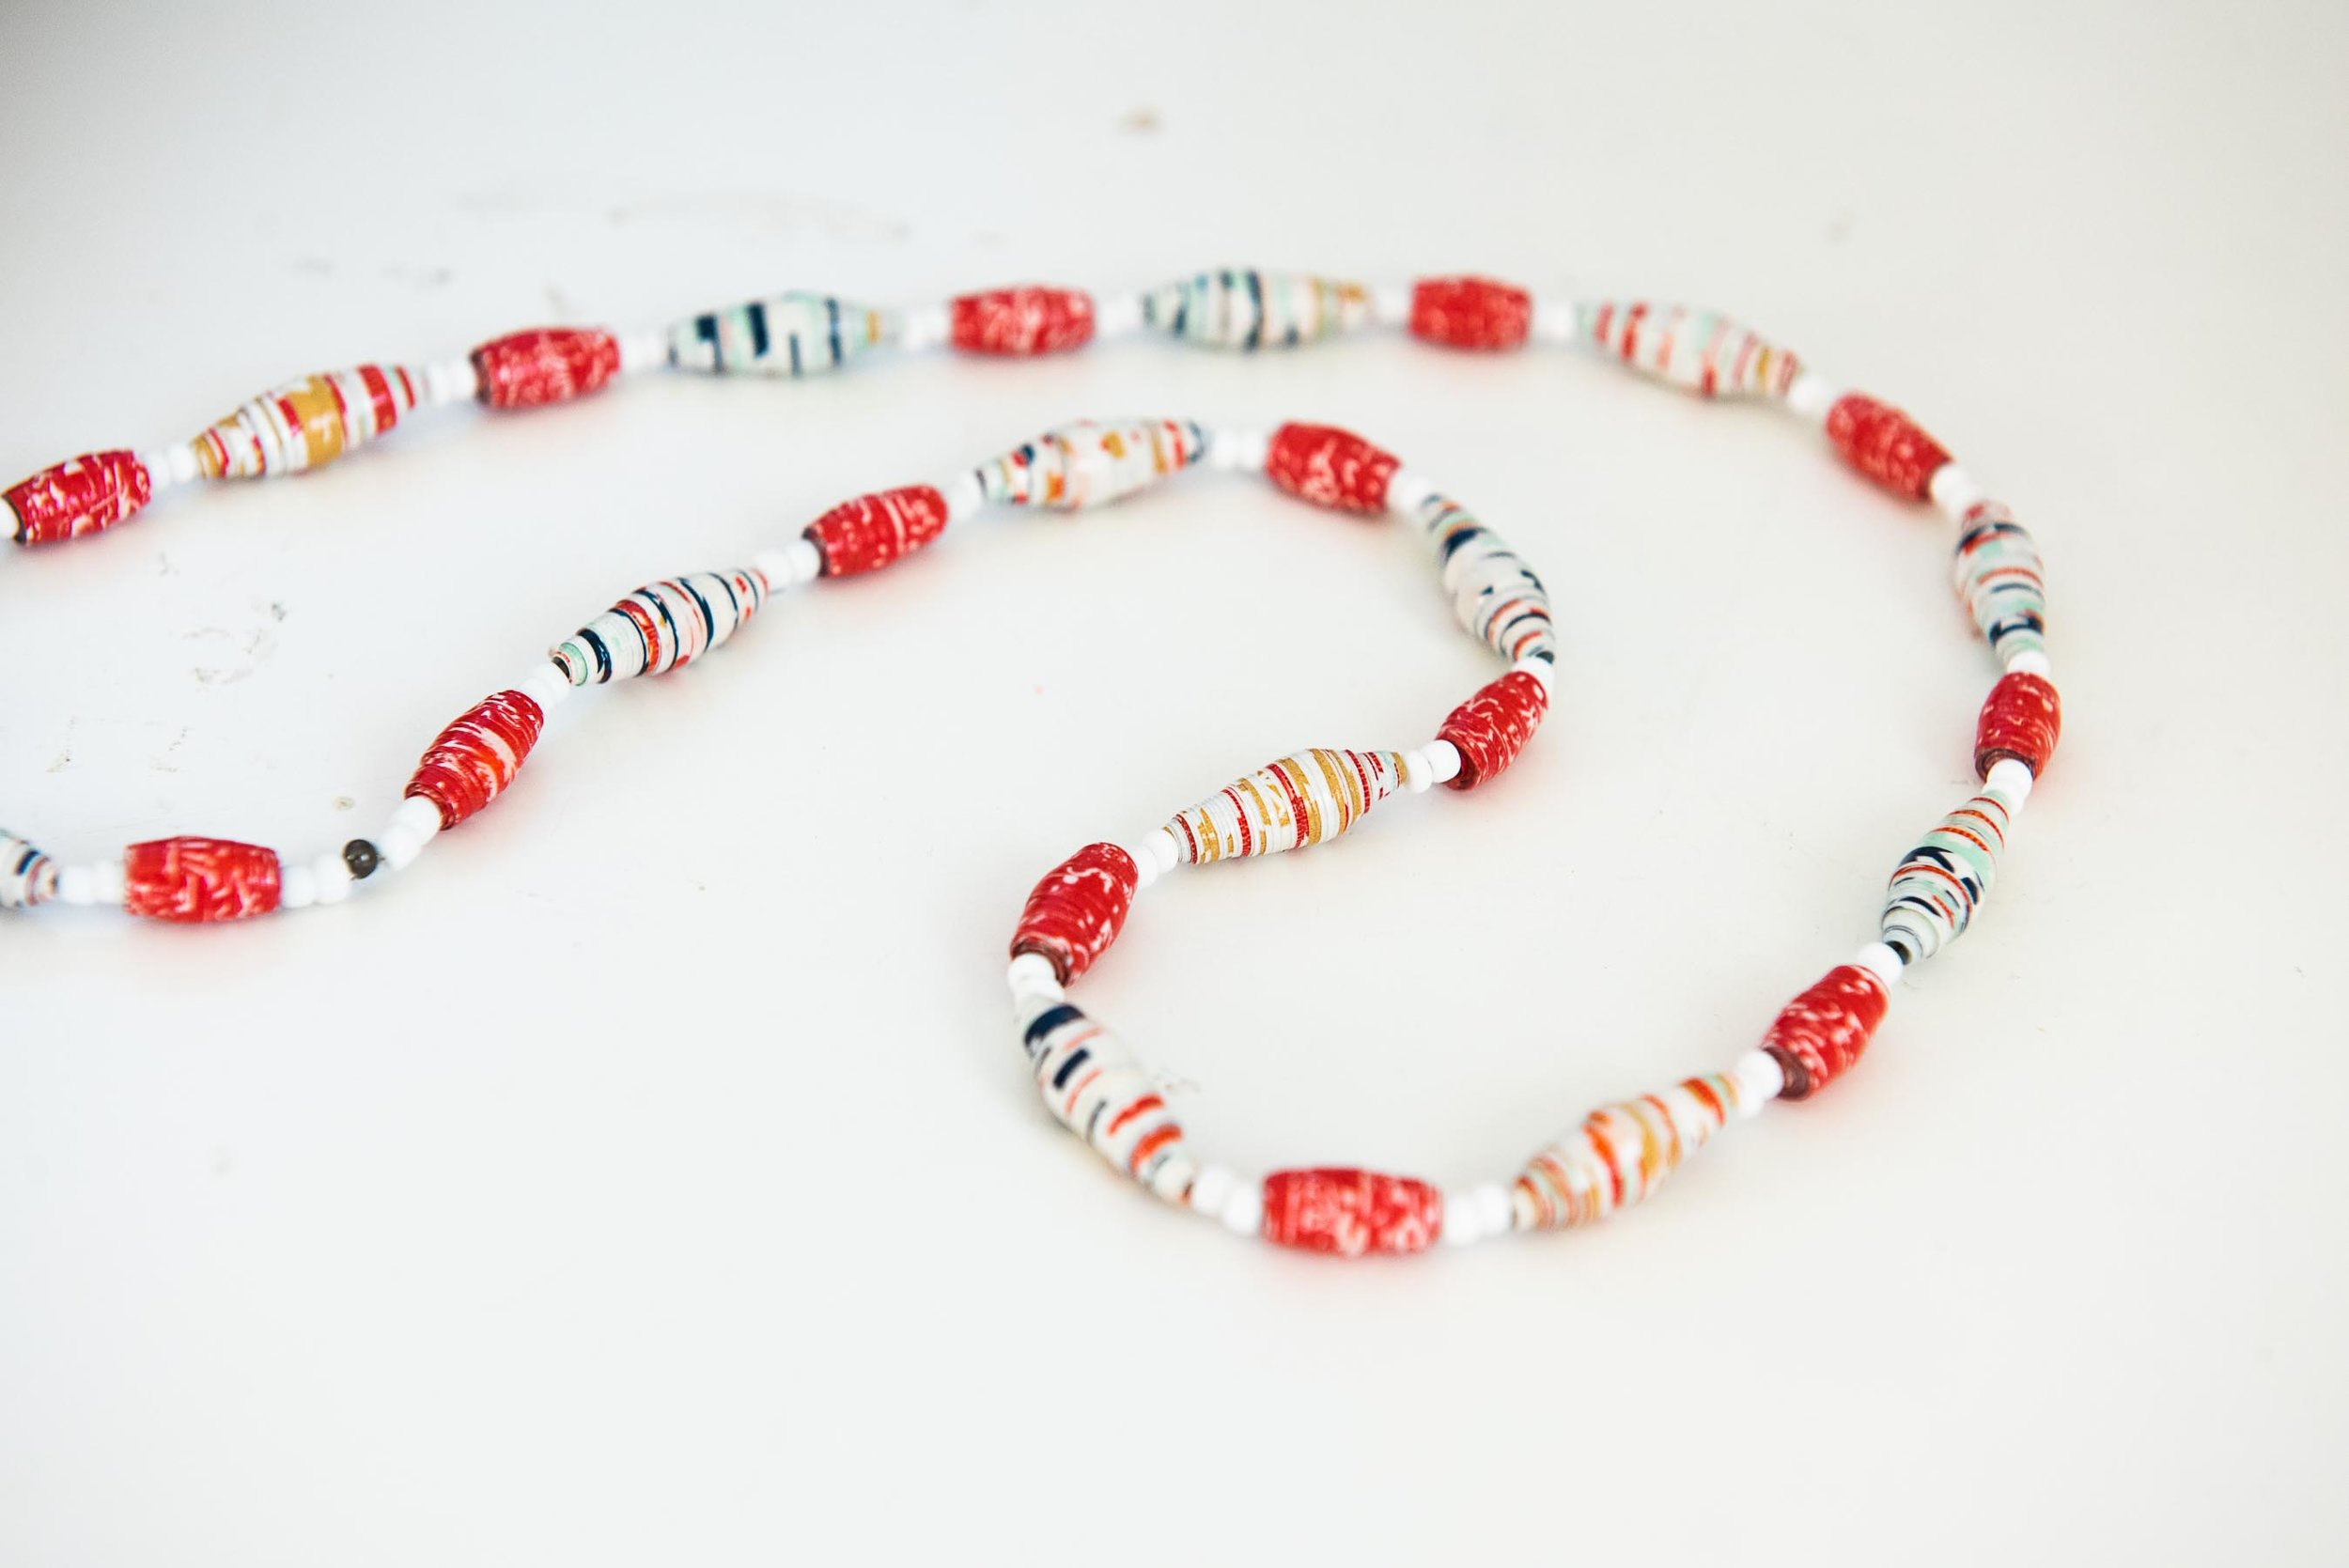
Make your necklace! Because I can be pretty extra about things, I went ahead and made a long wire necklace complete with crimp beads. You do NOT have to do this. You can easily space your upcycled wrapping paper beads with purchased beads (or bonus points if you dismantle a thrift store necklace for this project and repurpose those beads) using string as your base and tie off your ends once your necklace is long enough. The point is to breathe new life into old materials, not spend a ton of money at the craft store. And remember, I did make several extra if you’d rather just purchase one! (Hint, hint!)

I love my paper bead necklace and have been wearing it so much, I went ahead and made more. I love the boho look and as someone who wears a lot of neutrals (ok, half my wardrobe is black and the other half is activewear) this is a fun way to spice up your favorite outfit AND keep sustainability at the forefront of your mind.


